Pella is a well-known manufacturer of door and window products for new construction and replacement projects. Because of the wide range of choices in material and style, Pella replacement windows are some of the most popular options for homeowners who want to upgrade their old windows.
Pella offers windows made of primed or unfinished wood (Mahogany, Pine, Douglas Fir, and Alder), aluminum-clad wood, Duracast fiberglass composite, and vinyl. Pella replacement windows come in various styles including:
– Casement
– Awning
– Double-Hung
– Single-Hung
– Sliding
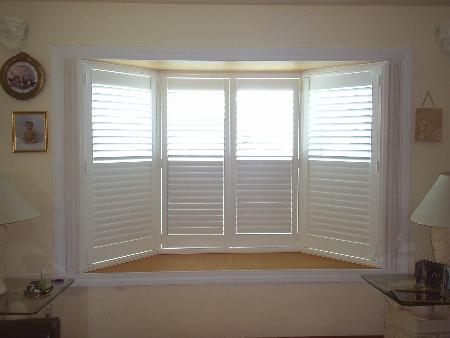
– Bay or Bow
– Special Shapes (i.e. Full Chord, Full Circle, Octagon, Springline, Rectangular, etc.)
– Specialty (i.e. French/Push-Out/In-Swing French Casement Windows, Tilt-Turn and Hopper Windows)
– Custom
Pella Replacement Windows Installation Process
Step 1: Measure the openings.
Getting the exact measurement of your window openings is critical to making sure your Pella replacement windows will perform as expected and contribute to the energy efficiency of your home.
Measure the opening vertically and horizontally across three areas: top, middle, and bottom. Get the width by measuring from jamb to jamb. Get the height by measuring from the windowsill’s top to the header’s underside.
With all measurements taken, choose the smallest width and height measurements for the final dimensions. A local window specialist can assist with this step to ensure precise measurements.
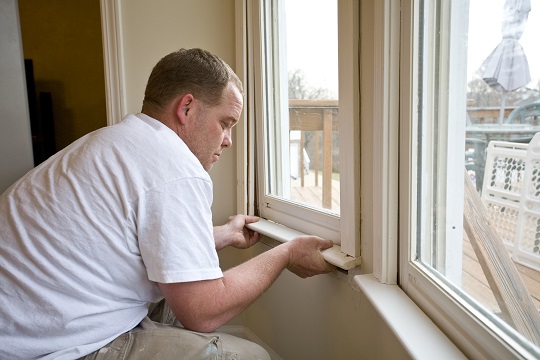
Step 2: Remove the old windows.
Your old windows must be removed carefully to prevent the walls of your home from being damaged. It’s also important that old windows be disposed of in a responsible manner, so they will be hauled away by local Pella window replacement contractors at no additional cost.
Step 3: Ensure the new window is weather tight.
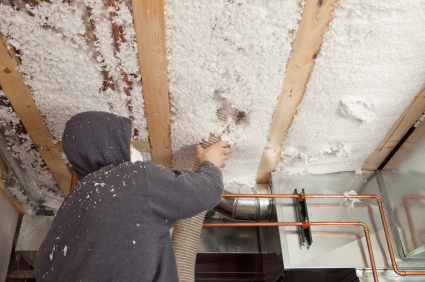
Be extra careful in making sure that your Pella replacement windows are uniform, plumb, and level in the openings. Insulation should be installed between your windows and wall.
Also, check that windows are well sealed to your walls to keep water and air from getting into your home.
Step 4: Finish and clean up.
Test to ensure that every new window is working properly. All hardware should be installed.
Depending on your preferred finish, the windows would either be painted or stained. If necessary, replace both the window’s interior and exterior trims and apply desired finish.
Once all the finishing work is done, the Pella installer will clean up and vacuum the work area. They will explain to you how to operate and care for your new Pella replacement windows.
Find a Local Pella Certified Windows Installer
All Pella window replacement projects are completed by installation professionals who have been specifically trained by Pella to be distributors and installers of their products. For help locating a certified Pella contractor in your area, contact Seva Call. We’ll connect you with local Pella experts in no time for free!
Tags: Pella Replacement Windows

