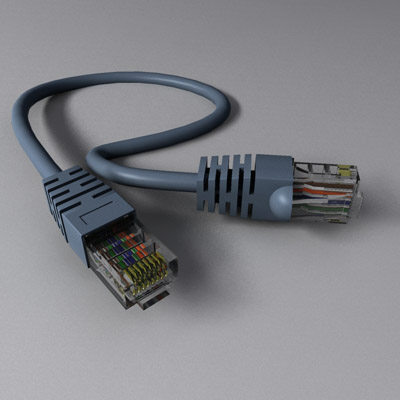
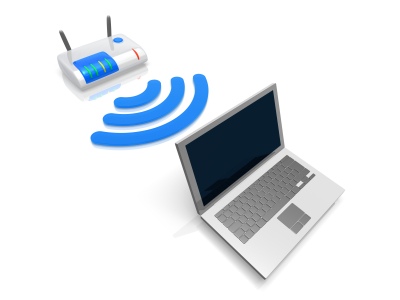
If you want to extend the range of your home internet network, a wireless router is usually your best choice. But when dealing with a room that a wireless signal is unable to penetrate, like a basement or garage, you might need to use an Ethernet cable running from your modem. The best way to accomplish this is to install a cat5 wall jack panel in the room where you need internet access and connect it with a cable through the walls to your internet source. For those with little to no wiring experience, installing a cat5 connector wall jack can be a tricky undertaking, but if you follow these steps you should be surfing the web in no time.
The first step is to actually run the Ethernet cable from the room with your internet modem to the room where you are installing the wall jack. If you are not familiar with the process of snaking a wire through your walls you should read about it here. Although simple in theory, this is often the most difficult step for the average do-it-yourselfer. Those who are unable to accomplish it on their own or uncomfortable making the attempt should probably hire an electrician to take the job on for them. Getting in contact with a quality local professional is easy if you use TalkLocal, so don’t hesitate to ask for help if you need it.
Now that the cable is in place we will move on to the actual wall jack panel. Begin by cutting a hole in the wall the size and shape of the panel, wherever you want it to be located. Then pull the Ethernet cable you ran through the back of the wire box (the part of the wall jack panel that sits inside your wall) and use a screwdriver to screw the box securely to the drywall. To attach the jack to your cable, you will need to strip the cable end with wire strippers and insert the individually colored smaller wires into the corresponding colored jacks in the back of the wall plate. Once they are in place you can press the wires into the connections using the punch down tool that should have come with your wall panel when you purchased it. With the cable connected to the jack all that remains is to fit the faceplate of the panel over the wire box and screw it into place. Congratulations, you should now be able to easily connect to your home network without worrying about all the hassles of wireless connections.





Nice article, thanks for the information.
I enjoy reading through a post that can make people think. Also, thanks for allowing me to comment!
You made some decent points there. I checked on the web for additional information about the issue and found most individuals will go along with your views on this site.