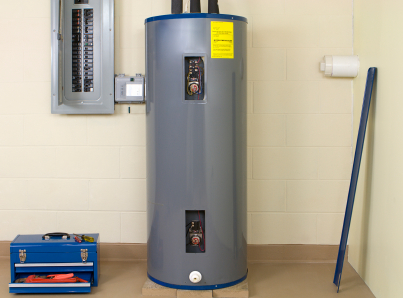
Has your natural gas heater reached the end of its natural gas life? Is it winging its way to gas heater heaven? If so, here’s a quick step by step guide to carrying out your own natural gas heater replacement.
Remove the Old Water Heater
1. The first step is to remove your old natural gas heater. With a fire extinguisher nearby, shut off the valve and make sure that no gas is leaking.
2. Then, smell the area for any gas leak. Never use a flame to test for gas leaks.
Drain the heater
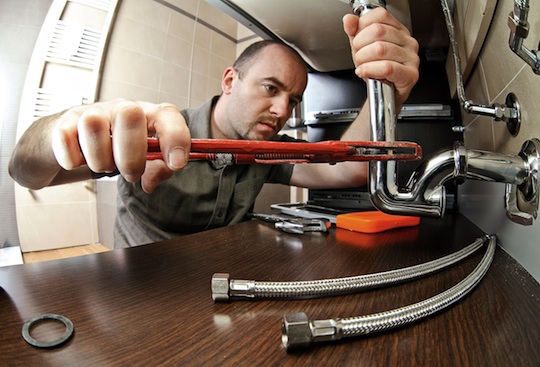
3. Drain the heater so that it’s lighter and therefore easier to remove. While it’s draining, use a large pipe wrench to cut the connection between the gas line and the heater.
4. Once you have disconnected this, double-check to make sure that no gas is escaping.
Connect the new segments of the flex pipe
5. This is the first step in connecting the new heater. You need to roll Teflon tape around the cold “in” and hot “out” connectors in the flex pipe. By doing this, you will ensure a good seal when you connect the flex pipe later on. This is the same as when you are replacing an oil furnace, but with a few added steps.
Connect a new flexible gas line
6. You need to connect a new flexible gas line to the pilot box. To do this, you need to use Teflon dope over the fitting.
7. After you thread the line, tighten it using a wrench.
Connect the water supply
8. Connect the old pipe to the new valves of the pilot box using a wrench. Before you do this, you need to burnish off the old fittings with an emery cloth to expose fresh copper. Connect both the cold water supply and the hot water supply.
If You Think You Need Help…
Contact TalkLocal today and we can get a professional to help you within minutes! Just tell us where you are, what you need, and when you’re available, and we’ll send the right professionals to you.

