
We hate to love it, but it’s a cherished family tradition. Picking out scary or fun designs to draw (and trying not to mess up) and scooping out gross orange flesh. That’s right, it’s pumpkin carving! The actual process is a BIG pain – let’s admit it. But, the look on the kiddies’ faces when you finish makes it 100% worth it. So, that’s why we keep doing it.
Now, are you ready to carve some pumpkins? Here are our five steps to properly carve a pumpkin:
1. Cut off the top of the pumpkin. You can use a keyhole saw to cut it, but any serrated knife will do.
2. Hollow out the pumpkin by scooping out the insides (flesh, pulp and seeds). Any large-sized spoon or scraping tool will work. It is important to scrape some of the walls’ flesh because it thins the walls and makes carving a whole lot easier.
3. Draw a fun (or scary) design with a marker, or print out a template and tape it to the pumpkin. To trace the design, you can use a sharp tool like a nail or needle tool.
4. Remove the template (if you used one) and begin to carve out the design feature with the same serrated knife you used to cut off the top of the pumpkin. Tip: try to saw in short, back and forth movements. This will give you more control.
5. Place a candle inside. We recommend putting it in a glass or using a battery-operated light inside the pumpkin. P.S. If you use a candle, cut out a “smoke hole” in the back so the smoke from the candle can escape.
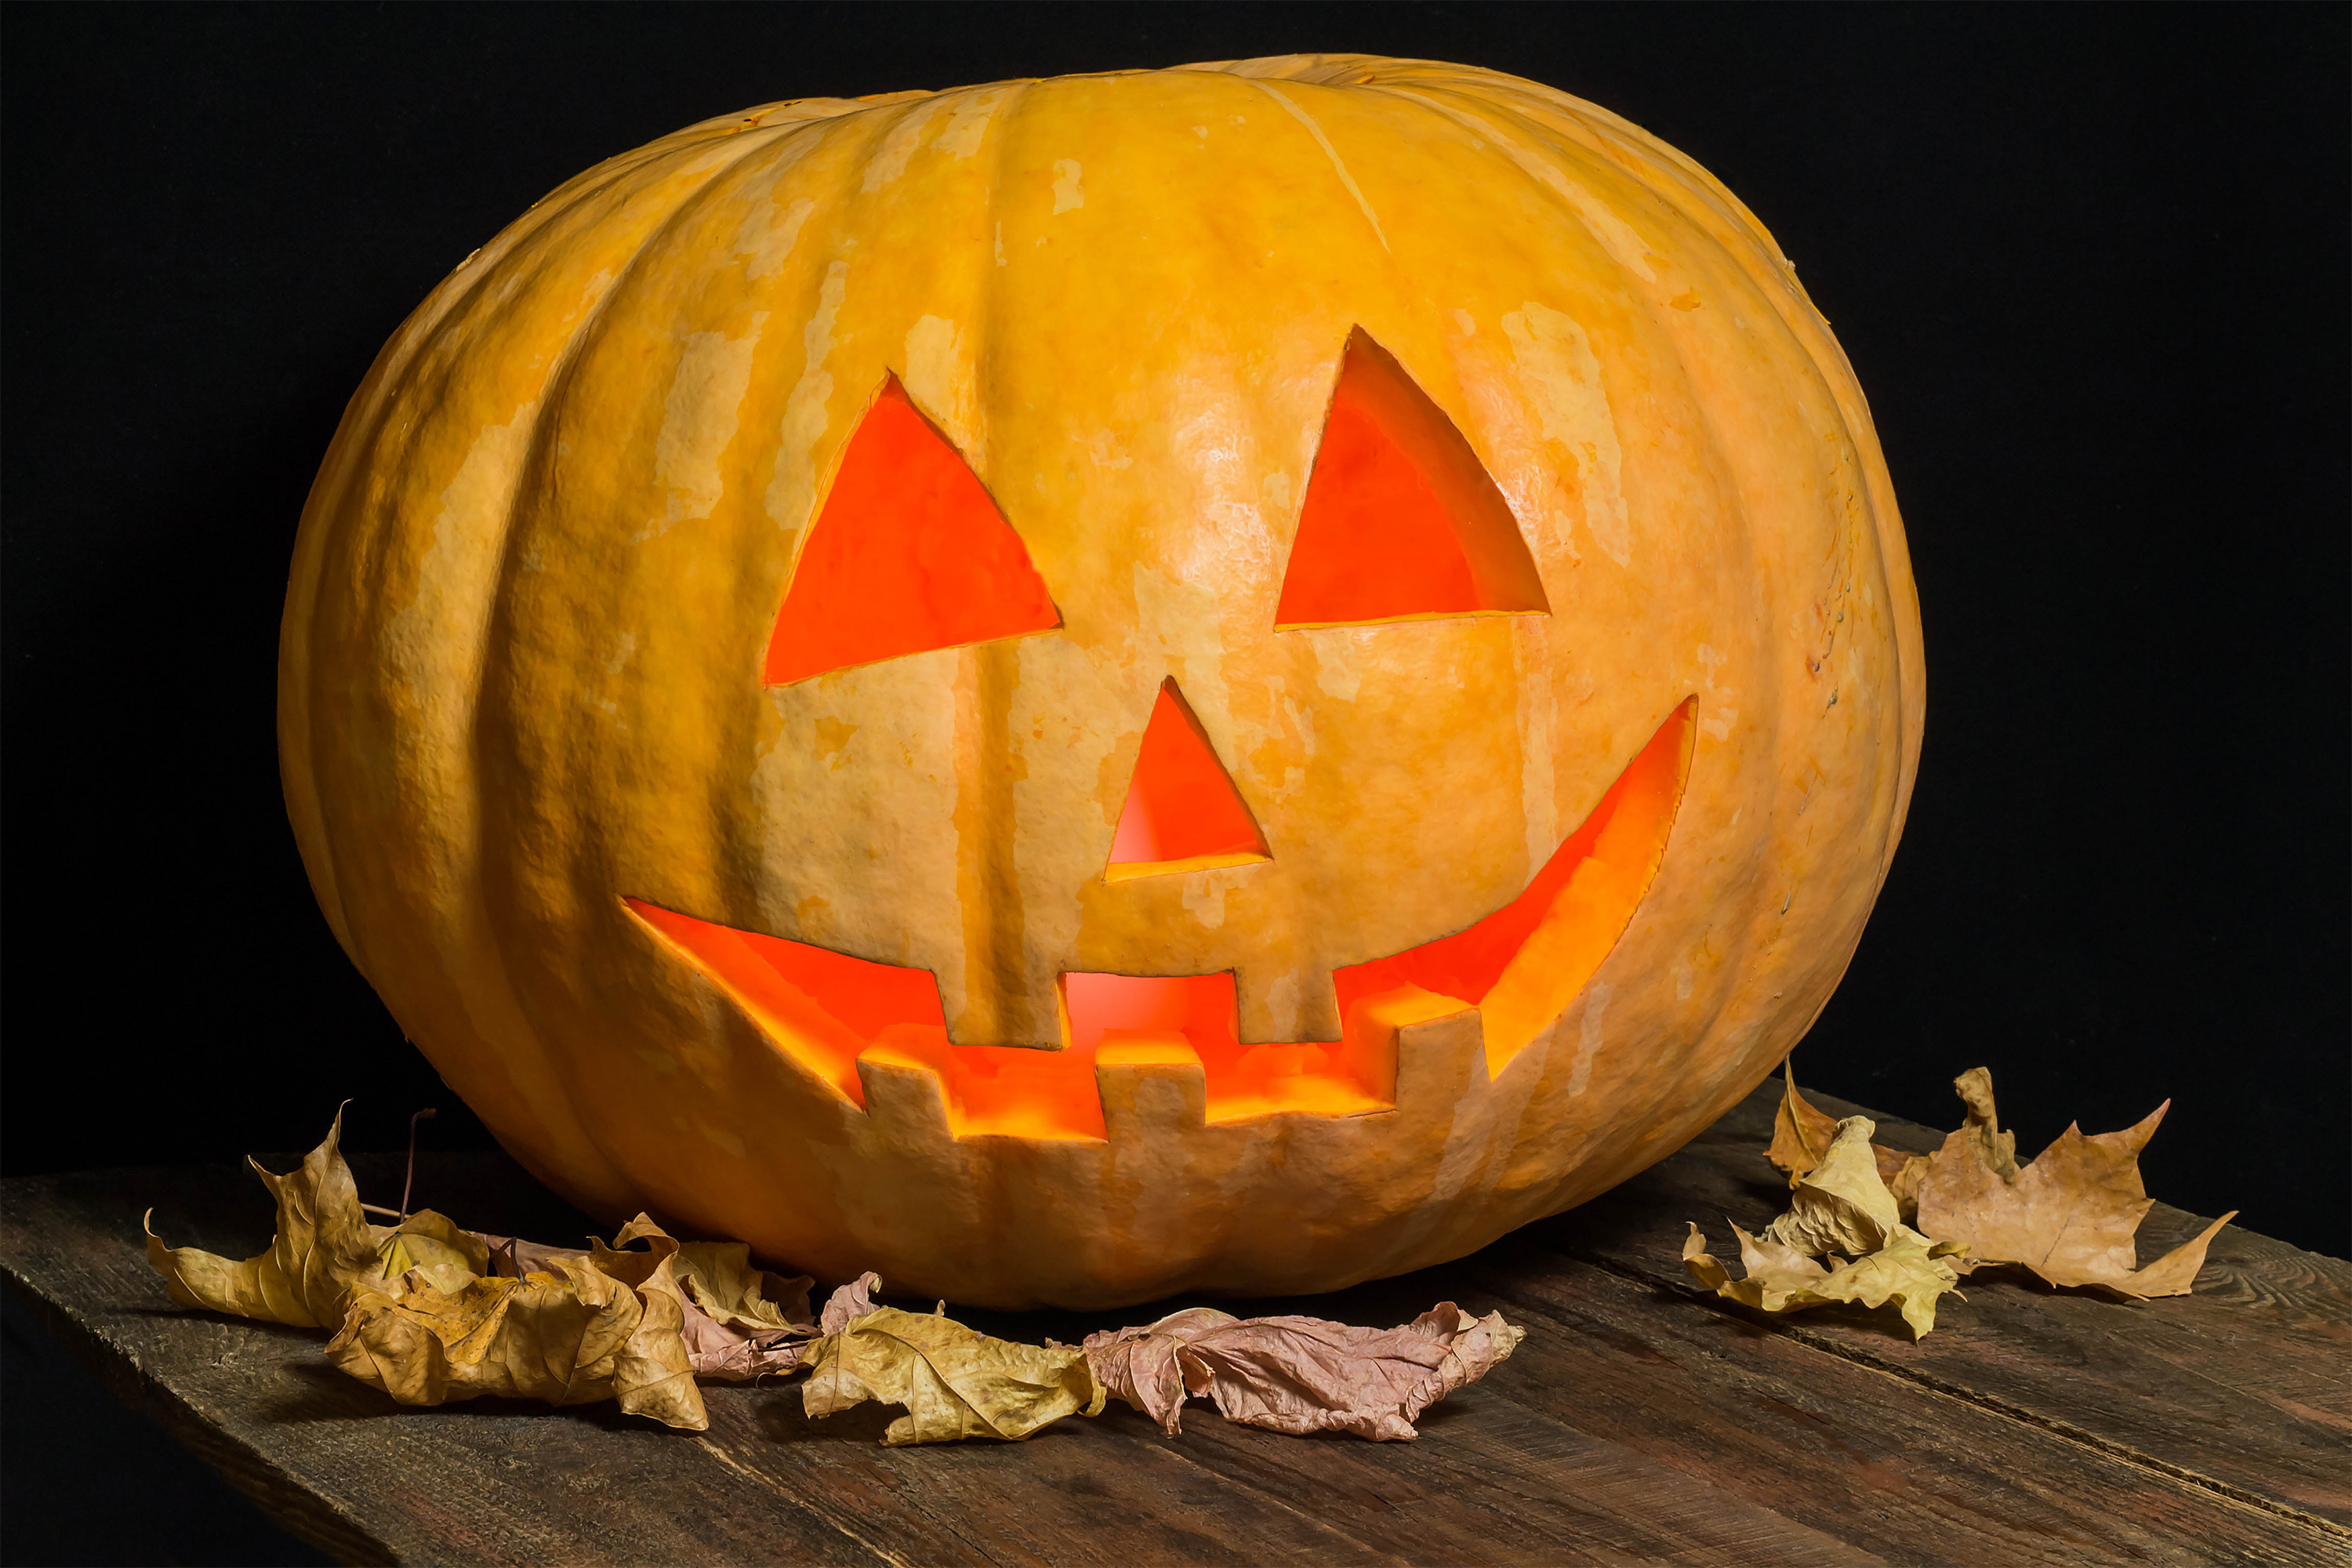
Voila! Your pumpkin is ready to go. If you’re worried about it turning brown before Halloween comes, you can apply a layer of vaseline to the outside of the pumpkin. You can also preserve the pumpkin by placing it in the fridge whenever you’re out of the house. We highly recommend doing both to keep your Jack O’ Lantern in good shape.
Make sure to check out our Halloween board on Pinterest for tons of pumpkin decoration ideas, creepy recipes, and scary DIY decoration ideas.
Happy Halloween!
Tags: halloween, pumpkin carving


