Internet Problems after Power Outage

Tuesday, October 30th, 2012

Internet Problems after Power Outage Computer Repair

The router is the device that is responsible for your internet connection. If you are having internet problems after a power outage, check to see that power is restored to your router as well as your computer.

How to Upgrade

A sudden power outage may have “frozen” the operations in your router, resulting in it still being “frozen” even after the power returns; if this is the case, you must reset the router. Search for a caved in reset button in your router. It is caved in so that you do not press it by accident. While the router is turned on, press and hold the reset button until the router powers down.

If that did not solve the problem, there might be a chance that the operation was frozen on the server end (your internet provider’s end). In this case, contact your internet provider and ask them to reset the connection for you.

If resetting the router and the server ends do not fix the problem, there might be fundamental connectivity issues. If you are using a wired connection, check that your wires are working and that the ports that the wires are connected to are working as well.

If you are using a wireless connection, check that the network to which you are connected is the right one. Even if it is the right one, disconnect from it and try reconnecting to your computer. You might want to restart your computer as well.

If none of these solutions work, there might be a hardware issue with your router  a possible cause is exposure to moisture or heat. Consider getting a new router or help from a professional.

Additional Help

If you feel like you need professional help for your internet problems after a power outage, TalkLocal can help with finding the correct local experts, saving you time and energy in what may be a stressful situation.

Pilot Light Went out on Gas Stove

Tuesday, October 30th, 2012

Pilot Light Went out on Gas Stove Appliances Repair

The pilot light is the light on the surface of the stove on each of your burners that “guide” the gas into burning when they are released from the pipeline. Without the pilot light, the released gas will not burn and flood into the room, causing “invisible” danger. Read more to learn what to do if your pilot light went out on the gas stove.

Technical Problems

There are really only two ways a pilot light could be turned off:

– You spill water/liquid on the light and the liquid floods over the pilot light.

– The flow of gas that keeps the pilot light going is switched off.

In either case, you will need to turn it back on. To do so, follow these directions:

1. For safety measures, shut the gas behind the stove before doing anything. Moving the stove out to turn off the gas can also be dangerous due to the weight and the sheer volume of the stove — have someone to do it with you. Carry it out and place it gently so that it would not scratch up the surface.

2. Shut down the gas valve — there should be a knob that indicates the flow of gas. After shutting the flow of gas, wait for a while, and open the windows to aerate the area of any residual gas.

3. Get a candle — one of those birthday candles will be fine. Light it up using a match. Position the candle so that the flame replaces the area where the pilot light used to be. Make sure that the position of the candle stable before turning the gas back on.

Warning: Do not use a match directly, instead of a candle. Turning the gas on and then striking the match near it could create an uncontrollable flame, burning you.

4. Once the pilot light is on, move the stove back into the original position, carefully.

Additional Help

If you feel like you need professional help on fixing the pilot light on your gas stove, TalkLocal can help with finding the correct local experts in this case, saving you time and energy in what may be a stressful situation.

Best Type of Carpet Cleaner

Monday, October 29th, 2012

Best Type of Carpet Cleaner Carpet Cleaners

There are many types of carpet cleaners, and most of them do a pretty good job. But the best types of carpet cleaners are the ones that do more than just good. These cleaners clean as much as possible and make the carpet looking like new. So how exactly do we find these carpet cleaners and what are the right methods for cleaning your carpet?

Best Cleaners

The best type of carpet cleaner is the one that does what it advertises – clean carpets. Some products that have been known to work are Resolve carpet cleaner and Spot Shot. These products break the structural bonds of the stain, and as the bonds break, the stain becomes more easily removed. Products such as these help to remove the stains, no matter what the source of the stain may have been.

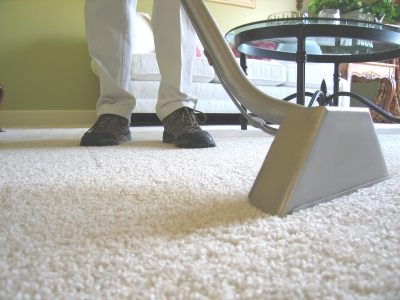
Before you use any products like this, however, the first step is to actually vacuum the affected area. Most of carpet soil can actually be removed from vacuuming alone, so be sure to do this step. Once you finish vacuuming, the actual cleaning process can begin.

Best Methods

There are a couple of different methods of cleaning carpets, some more effective than others. One of the most common methods of carpet cleaning involves the use of shampoo. Special detergents are applied to the carpet and then the shampoo is extracted by the vacuuming. This method makes the carpet appear clean and smell good, but these effects diminish quickly and the dirt and microbes end up remaining in the carpet. So despite it being commonly used, we recommend you stay away from this method and instead utilize the next method we are about to discuss.

The ideal way of carpet cleaning is a method known as the dry cleaning method. This type of carpet cleaning involves powdering the carpet with a special cleaning powder that attracts dirt (much like a magnet). After this powder works its magic, you vacuum it up and your carpet is clean. This method is recommended because it doesn’t induce streaking like some other methods do, and it keeps your carpet dry and ready to use. However, one limitation of this method is that it doesn’t accomplish a whole lot when used for a heavily soiled carpet.

Additional Help

Now that you’re equipped with the knowledge of the best types of carpet cleaners, you should be able to get your carpet looking like new in no time. Bear in mind, it is no easy task to clean your entire carpet for yourself. If you need assistance of any kind, consider using TalkLocal to find a carpet cleaning company for you. TalkLocal is a free service that will connect you with top-quality, reputable carpet cleaning companies in your neighborhood within minutes. Just enter in your specific problem, location and availability, and up to three companies will call YOU directly.

How to Repair Chipped Tooth

Monday, October 29th, 2012

How to Repair Chipped Tooth Dentists

A chipped tooth is a nuisance, plain and simple. Although it may seem like a big deal when it happens due to the way it makes your teeth appear, a chipped tooth is usually not a big issue. Chips are the most common dental injury today and can be easily fixed.

More often than not, you will need to go to a dentist to get a chip fixed (for short-term and long-term reasons), but if the chip is small enough to fix yourself, then by all means, it is worth a try. Below are some instructions on how to repair a chipped tooth at home.

1. If the chipped tooth also caused a flesh wound in your mouth, treat the wound first by using ice and ibuprofen to reduce any swelling. If any nerves are exposed, it is imperative that these are covered up. You can use temporary dental cement, which temporarily covers up the exposed nerves so that you can eat normally. However, if a nerve has been exposed, you will have to see a dentist soon.

2. If the chip is small enough and by the corner of your mouth, then the problem is mostly cosmetic. To improve the aesthetics of the tooth as well as your safety, consider using an emery board to file the chip down to your liking. This reduces the jaggedness of the tooth, which helps prevent against further damage and your tooth from scratching parts of your mouth.

3. If the chip is still visible, more filing will need to be done. You can try filing down the whole bottom of the tooth to keep it flat, but be careful not to file too much.

Following these tips allows you to take care of small chips, but going to a dentist is still highly recommended. A dentist is capable of many alternative treatments that you wouldn’t be able to do on your own such as dental filling, bonding, or inserting a dental crown. These are more permanent solutions and well worth the money you spend. If you’re searching for a dentist, consider using TalkLocal, a FREE service that will connect you with top-quality, reputable dentists in your area. All you need to do is enter your specific need, location, and availability, and TalkLocal will contact dentists, who will then call YOU directly, ready to help – all within minutes. Save yourself from the time and stress from trying to find the right dentist on your own, and let TalkLocal do it for you!

How to Clean Hard Water from Shower Head

Monday, October 29th, 2012

How to Clean Hard Water from Shower Head Maid Services

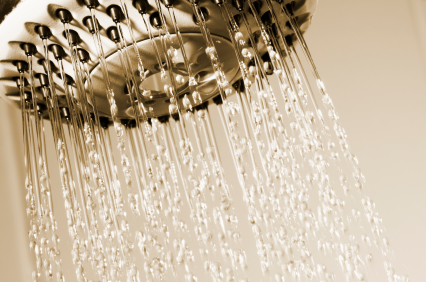
Hard water is water that has a high concentration of minerals in it.  Because of its content, it calcifies onto surfaces from which it flows out of. Shower heads become clogged with mineral deposits and these minerals harden to form the hard water stains you see.  When this happens, the head will spit water from the holes not clogged and so you get an unpleasant shower experience. Hard water also impacts your shower head’s ability to function properly.  It will block off some of the spigots so that you get lower water pressure than usual. Read more to learn how to clean hard water from a shower head.

Water softening is commonly used to avoid hard water’s adverse effects. However, if you don’t want to invest in a water softener, there is any easy homemade solution that you can use to clean hard water calcification off of your faucets and shower heads.

Homemade Solution for Hard Water Calcification

Fill a small plastic bag halfway with vinegar. Wrap the bag around the shower head and secure it with a rubberband; leave it there for an hour or two. After removing the bag, polish the shower head with a cloth and the hard water will come off easily. The showerhead will look and function like new.  The acetic acid in the vinegar acts as a solvent to fight the stains. The best part about using vinegar is that it is inexpensive and is not a harsh chemical.  If the hard water does not come off, you should repeat the process but leave the bag on for around six hours.

Now that your shower is cleaned, you should maintain it by removing future calcifications as soon as you notice them.

Continuing Problems

If you have problems removing the hard water calcifications from your shower head, you should seek professional help.  Use TalkLocal to be put in contact with reliable local maid services within minutes.  You don’t have to do any work! Simply input your problem and availability and TalkLocal will do the rest.  Almost immediately you will be connected with someone who can help you out on the phone.

Free Software to Transfer Music from iPhone to Computer

Monday, October 29th, 2012

Free Software to Transfer Music from iPhone to Computer Computer Repair

Everyone knows how to transfer music from your computer to your iphone but how many people know how to do it in reverse? Attempting to transfer your music from your phone to a PC or Mac is a little more complicated but still totally doable. If you are wondering if there is a free software to transfer music from your iPhone to computer, you are in luck. These programs will aid you through the process.

Manual Transfer

If you want to manually transfer all your music to your computer you should set out a decent amount of time to be able to do so.  Without software this process can take a lot longer.  You will need to plug your phone in and using a phone browser program find all your tunes.  You can then copy and paste them from your phone onto your desktop or into a folder.

Download a software

Transferring music from your phone to a computer is a much simpler process when you download an aide program. You can use Winamp for PC and iDump for Mac.  Software such as these will allow you to transfer them directly. You can simply install the program and designate a place you want all the files to go to. Plug your phone in and you can get started immediately. Name your songs as they are downloaded and watch as they fly through the cyberspace right onto your computer.

Continuing Problems

If you continue to have problems with downloading music from your phone to your computer, you should seek professional help. Use TalkLocal to be put in contact with reliable IT businesses.  You don’t have to do any work! Simply input your problem and availability and within minutes your should be connected to someone who can help you out.

Microwave will not Stop Running

Monday, October 29th, 2012

Microwave Will Not Stop Running Appliances Repair

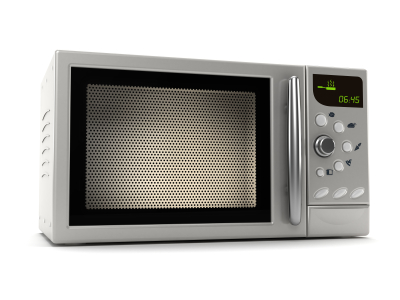
Having a microwave is such a convenience.  You can pop in a dinner or warm up some soup within a matter of minutes maybe even seconds!  The various array of things you can do with a microwave make this product extremely versatile.  You can defrost, warm up, bake, etc.  Sometimes devices like microwaves start to malfunction.  For instance, if your microwave will not stop running, then it can pose a problem for your food.

The most important thing to remember when your microwave is spazzing out is that you need to care for your personal safety first.  You should unplug the device from the power source.  Opening the door when the microwave is still on is extremely dangerous.  You should never do this.  Your face and hands could get burned very badly.  Shield your eyes and unplug the microwave as soon as you can.

The issue may be with the smart board.  This is the part of the microwave that signals the device to stop when the timer runs out or the door is opened.  If the smart board breaks or goes bad, the microwave will be unable to stop because it is short circuiting.  Once you unplug the microwave, you need to go get a new smart board and replace it. In most cases it may be completely ruined and you should just throw the entire thing away and get a replacement microwave.

If you continue to use the microwave even though it is malfunctioning you could cause serious damage. The device could blow up or start a fire, which could cause serious injury and destroy your kitchen.  You should be extremely cautious when approaching a microwave that will not stop running.

Continuing Problems

If you continue to have problems with your microwave you should seek professional help.  Use TalkLocal to be put in contact with reliable local appliance companies within minutes.  You don’t have to do any work! Simply input your problem and availability and TalkLocal will do the rest.  Almost immediately you will be connected to someone who can help you out.

Different Parts of a Roof

Monday, October 29th, 2012

Different Parts of a Roof Roofers

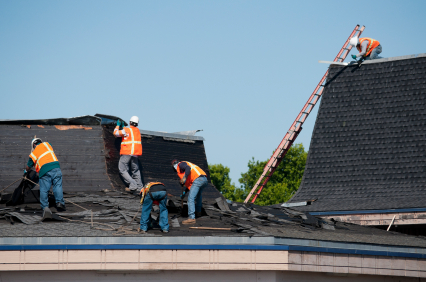
Understanding the different parts of a roof is not only interesting, but it can be extremely beneficial if you are having a leak or if you are wondering if your roof will really hold during a big storm.  In addition to the actual infrastructure of the roof, there are various names for areas of the roof.  The following is a list of common roof terminology and areas:

–  Dormer:  The structure protruding from the roof that surrounds a window.

–  Roof Truss:  The system of beams making the foundation of the roof.  In addition, rafters are part of the roof truss and run from the top to the bottom of the roof.

–  Hip:  Where two sloping roofs intersect and create an external angle.

–  Valley:  The internal angle where two sloping roofs intersect.

–  Fascia:  The covering of the end of the rafters that is usually used to attach gutters to.

–  Ridge:  The highest point running along the length of the roof.

–  Starter Strip:  Protects the roof from wind and fills in gaps.

–  Eave:  An eave is the lower overhanging of a roof.

–  Gable:  A gable is the triangle projection coming from the roof that is below the highest point on the roof but above the main house.

Check out this roof parts link to get acquainted with the anatomy of your roof and to have a great visual of the layout.  If any issues come up with your roof or you need help now, use TalkLocal to get in touch with a high quality roofer in your area.

How to Add New Electrical Outlets

Friday, October 26th, 2012

How to Add New Electrical Outlets Electricians

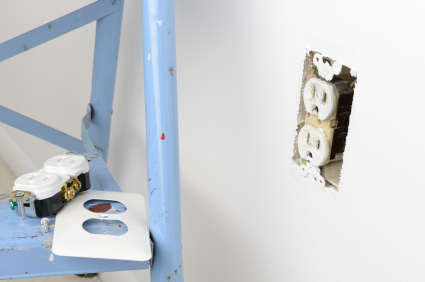
There are many reasons to learn how to add new electrical outlets to your home.  Whether it is to eliminate unsightly extension cords or provide power for a new fixed appliance, new electrical outlets can be essential for getting your home in perfect working condition.  For people with little experience with electrical wiring installation, this can be a daunting task.  If you want to get professional help, you can use TalkLocal to automatically connect you to a professional electrician for free.  For those “do-it-yourselfers” who are feeling a little more adventurous, here are the things you need to think about when approaching this project.

The first thing you need to do is read up on your local electrical codes.  The work you will be doing needs to be up to local code, which can vary from place to place.  Keeping your home wiring up to code is essential not only for avoiding fines but for preventing electrical fires caused by faulty wiring as well.

The next step is to determine where you will be drawing the power for your new outlet.  There are two main options here that will be determined by your home’s layout and your power needs.  The easier option is to piggyback your new outlet on to a nearby existing outlet.  Wiring to an existing outlet is only possible if there is already one nearby in the same room or ideally in the same wall facing towards an adjacent room.  The drawback to this is that it can cause a lot of strain on the individual circuit that will be supporting two outlets.  Avoid this option if either outlet has regular heavy power use or often causes a fuse to trip.  There is a great step-by-step guide on the piggybacking method available here.

Our other available choice is to run a new cable to your home’s main electrical panel.  This method will require additional wiring and expertise, so use it only when piggybacking is not an option.  This may be outside the scope of the ordinary homeowner’s abilities, but it is still doable if you carefully follow this guide.  Just be sure to be very careful when working with live electrical wires, no matter which option you end up going with.

How to Make the Front Door More Secure

Friday, October 26th, 2012

How to Make the Front Door More Secure Locksmiths

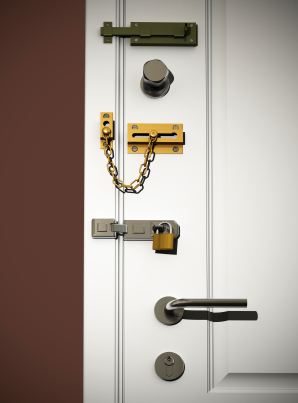
The front door is one of the most important entry points in your house, especially if you live in an apartment where it’s the only entry point.  Learn how to make the front door more secure with the tips we’ve provided below.

Add a strike box

Most times, flimsy strike plates (the metal plate that surrounds the hole where the deadbolt enters) are only secured by short screws that can be removed.  A strike box with a structure that has a metal pocket and secures directly into the wall stud beside the door, making it far more secure.

Get quality doors

Not all doors are made equal.  If you knock on the door and you hear a hollow sound, you’ll immediately need to replace those doors.  Hollow doors are a major security liability since they may easily be knocked down or destroyed.  Exterior doors should instead be made our of solid wood, fiberglass, or metal.

Install wide-angle peepholes

Peepholes will allow you to see how who is on the other side of the door without opening it.  Wide-angle peepholes with covers would be best as they prevent people from using tools such as reverse peephole users.

Add a heavy duty dead bolt

Dead bolts are low-cost and effective additions to your security system.  Make sure your door has a dead bolt which is either double-cylindered (which is keyed on both sides) or single-cylinder (keyed only on the outside).  Also make sure that the dead bolt has a grade 1 security rating as well.

Secure exposed hinges

The hinges should always be on the inside of the door, or else your door pins risk being taken out and your door being removed.  If your hinges are on the outside, you will need to rehang the door and replace the original pins with non-removable hinge pins.  Each hinge needs to be secured to the frame with 3-inch screws as well, regardless of whether the hinge is exposed or not.

These tips will help you ensure your front door is both sturdy and secure against all unwanted intruders and burglars.  Most of these tips can be done on your own, but if you’re looking to make more extensive renovations or are really concerned about security, it’s highly recommended that you talk with a locksmith about further improvements. TalkLocal can put you in contact with a local high-quality locksmith in just minutes.