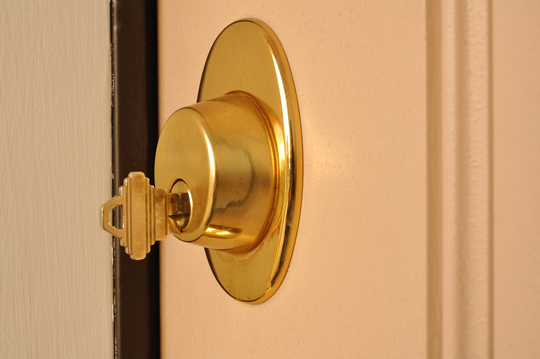
Deadbolts are a good way to ensure extra safety for your home. Because they restrict entry without the appropriate key, they add an extra layer of security from intruders trying to break in. However, if your deadbolt lock has been damaged, broken, or cut during a burglary attempt, it’s extremely important to have it fixed as soon as possible. A cut deadbolt can leave your home vulnerable, and hence, needs an immediate fix. The good thing is, with little instruction you can remove and replace your deadbolt yourself.
Removing a Cut Deadbolt
1. All you need to do is carefully unscrew the lock, as well as the thumb turn assembly, using a Phillips screwdriver counterclockwise. Note that you will find these screws on the inside of the door. Open the door and get the screws out.
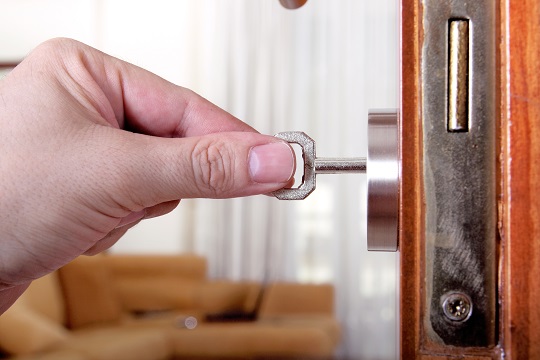
2. You can now easily pull out the key assembly and the thumb turn assembly with your fingers. If it appears to resist, you could use the tip of the screwdriver to pry it out. Using your fingertips, pull the cut deadbolt and assembly out, detaching it from the front operating edge of the door. Once again, you could use the help of a screwdriver if necessary.
3. Brush out or blow away any debris from the door in the area from where the deadbolt has been removed. This will clean up space to facilitate replacement of the deadbolt.
Installing a New Deadbolt
1. To install a new deadbolt, first of all, take a good look at the manufacturer’s template that comes along with the lock. You can easily mark reference points on the door using this template. Make sure you do the markings for the deadbolt at least 6 inches above the doorknob.
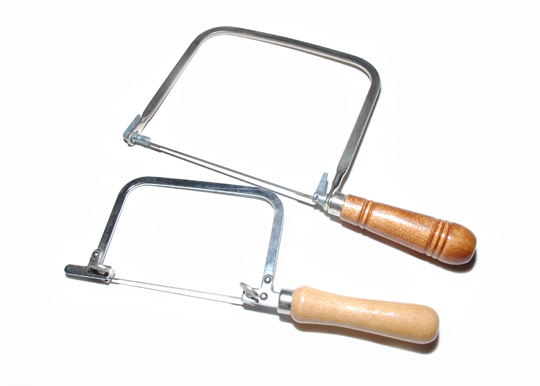
2. The next step would be to use a hole-saw to cut out a hole for the deadbolt. It’s a good idea to finish the hole from the other side as well, as that prevents any splinters. Also, drill a hole through the edge of the door, where the bolt will go.
3. It’s now time to cut a mortise for the deadbolt. Trace an outline of the faceplate of the deadbolt and use a wooden chisel to mortise the area so that it is flush with the door.
4. You can now secure the deadbolt to the door after ensuring that the faceplate fits well in the mortise. This is the time you will also install the cylinder and the thumb plate in place.
5. Next, drill two overlapping holes to install the deadbolt, and drill pilot holes where you can secure the striker plate using screws. Your new deadbolt is now in place.
Get Professional Locksmiths to Replace Your Deadbolt
If you would like some professional help with repairing, removing, or replacing a cut deadbolt, TalkLocal can help you find the best professionals. We help narrow down a list of highly trained and experienced professionals suited to your job so that all you have to do is choose the one you want to work with, and we will connect you directly.

