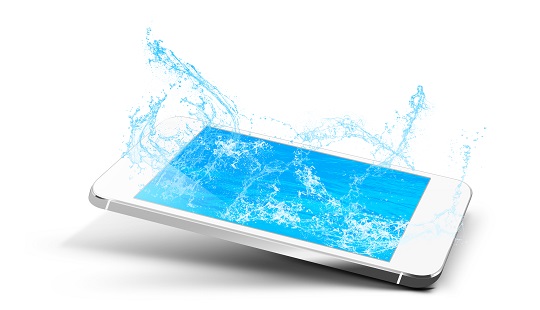
Did you drop your phone and crack the screen? Well, that will probably happen too. But there’s another catastrophic event on the horizon: water damage. If the inevitable water spill or puddle-drop occurs, don’t fret! You still have a chance to save your phone.
First of all, don’t turn on your phone! This can cause further damage. If you were smart enough to purchase insurance (which you should for an iPhone) you may want to take it in for . However, if you don’t have insurance and don’t want to spend a ton of money on a new phone, there’s a chance to save your waterlogged phone. There’s no guarantee of a permanent fix, but the following steps can help salvage a water-damaged iPhone.
iPhone Repair Water Damage
Note: These steps involve taking apart your phone. If you have a warranty, opening the phone will make the agreement null and void. Make sure you know how to put the phone back together and take it apart at your own risk.
1. Remove the SIM tray. Insert the SIM card removal tool or a paper clip into the hole on the bottom of the phone. The SIM card should pop right out.
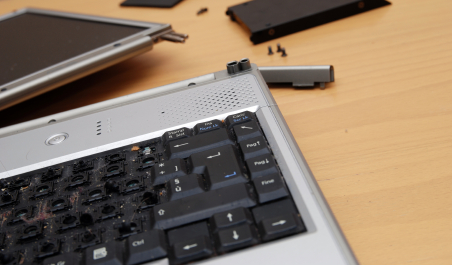
2. Remove the back bottom case using a case opener. Remove the case carefully by running the tool along the bottom of the back part of the iPhone. Using a Phillips head screwdriver, remove the three screws under the case.
3. Remove the back base from the frame. Run the case opener tool along both edges of the iPhone. Carefully remove the ribbon attached to both pieces.
4. Carefully remove three antenna cables held on by glue.
5. Remove the 10 screws on the outside of the case and one screw underneath a piece of tape. Pull up the piece of tape to unscrew.
6. Remove the screws holding the motherboard together. Carefully pull apart the motherboard. Be careful not to damage the four cables underneath. One of the cables is a latch that you will have to move upright in order to remove it.
7. Pull the motherboard and battery out together. Do not separate the two.
8. Remove the metal frame from the front of the phone.
9. Remove the LCD and Digitizer. Remove them by prying open the tiny clips on each side. Separate them by prying one side and then the other. This part can be difficult, so take your time.
10. Once you take apart the phone, set it out to dry. You can either set it out by a window or you can place the pieces in a bowl of rice to dry.
11. After about 24 hours, put the phone back together. It may help to take pictures as you take apart the phone to remember how to put it back together.
Need More Help?
Keep in mind that this is a last chance option to repair you phone when there is no warranty or insurance available. In this situation, it is best to consult a professional to evaluate the damage and repair the phone. Just tell us what, where, and when you need help, and Sll will connect you to a certified professional in minutes!

