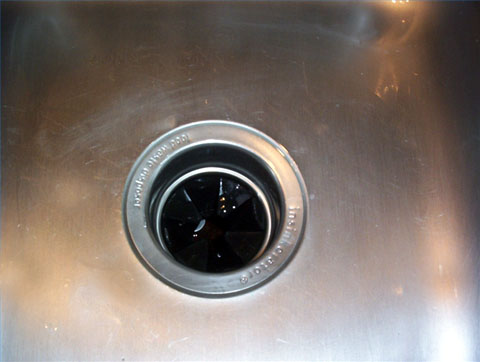
Garbage Disposal Stopped Working Suddenly

Friday, October 5th, 2012

Garbage Disposal Stopped Working Suddenly Plumbers

If your garbage disposal stopped working suddenly, there few things you can do to try and fix the problem yourself. If nothing happens when you flip the disposal switch, get down and take a look under the garbage disposal.  There is usually a small red button under the garbage disposal that resets the system. Push the little red button and see if anything happens. If your disposal was just overworked or if there was a power surge, this could fix the problem.

If that doesn’t work, you will need to use a wrench-like tool (it usually comes with the garbage disposal) that is shaped like a squared “S” and is hexagonal in shape. On the end, there should be a flat piece of metal with 6 sides. With the tool, look at the bottom of the garbage disposal. There should be a hole in which this tool will fit. Stick it in there and turn the tool a few times. This will manually force the garbage disposal to turn, breaking up any hard pieces that may have caused the disposal to stop. A few turns should unclog the disposal. Try to flip the garbage disposal switch again and see if it is working properly. If you lost this tool or need a replacement, you can find it at your local hardware store for around $3.

Did both solutions not work for you? You can either buy and install a new garbage disposal yourself, which costs no more than $100, or you can hire a professional to look at it and fix it, which will likely cost a few hundred dollars. To find a high quality plumbing service that offers a reasonable price, use TalkLocal to get in contact with local businesses. TalkLocal will comparison shop for you to find a business that can accomodate your needs.

Seva Man Now Serving Allentown, PA

Friday, October 5th, 2012

Seva Man Now Serving Allentown, PA Seva Call

Seva Man, now serving Allentown, Pennsylvania has been on a roll! After a busy summer of serving Washington DC, Richmond, Hamptons Road, Pittsburgh, and Philadelphia, Seva Man is ready to help the consumers of Allentown.

With over 2,000 business listings in the yellow pages, it must be a time consuming and frustrating task to
find the right person for the job you need done. That’s why the Seva Call team is overjoyed to be bringing their service to the third most populous city of Pennsylvania. Seva Call is making it easier than ever for consumers to find the right professional. With the click of a button and providing some information, Allentown consumers will be able to talk to up to three companies in minutes.

Seva Call, and especially Seva Man, want to help everyone, including businesses. Businesses have the opportunity to use Seva Call to help expand their clientele. It also allows local companies to accept or reject calls depending on their schedule and the task at hand. Through using Seva Call, Allentown businesses can pick and choose clients that are most beneficial to them.

If you’re in need of a high quality professional, let Seva Call help you. It’s easy, quick, and you can get connected in just a few minutes.

Installing Electrical Wiring in a Wall Oven

Friday, October 5th, 2012

Installing Electrical Wiring in a Wall Oven Appliances Repair

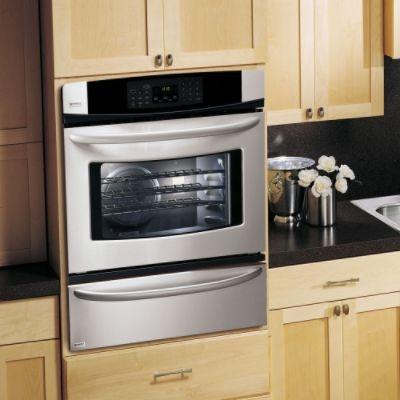
If you recently purchased a new oven and would like to install it on your own, the most difficult step will probably be getting it connected to your home’s electrical system.  For most of us, wiring a major appliance like an oven is a daunting task.  It can be very confusing figuring out which wire goes where and how exactly to connect everything safely.  Here are a few steps to keep in mind to help you cut down on the stress and strain of installing electrical wiring in a wall oven.

The first thing to do before getting started is read up on your local electrical wiring codes.  Many localities now require a separate neutral and grounding wire, which means that you will need to have four different wires connecting your oven to your house. These wires are: a black power wire, a red power wire, a white neutral wire, and a bare or green ground wire.  If your local code does not require a separate grounding wire, you will only need the red, black, and white wires.  You will be connecting the wires from your oven to the junction box in your kitchen.  Before installing, consult your oven’s user manual and check that the amp requirements are met by the circuit breaker the junction box is connected to, and then disconnect the power supply by tripping the breaker for the circuit.  Be absolutely sure that you flip the correct fuse or you could seriously injure yourself.

Now you should be ready to connect your oven.  Simply connect the black wire from your oven to the black wire in your junction box, and the red oven wire to the red junction box wire.  If you need to use separate neutral and grounding wires, connect the white oven wire to the white junction box wire and the green/bare oven wire to the junction box itself.  Otherwise, connect both of these two wires to the casing of the junction box.  Once all of this wiring is installed safely and securely you can turn the circuit breaker back on and your oven should be ready to use.  If something went wrong or the oven will not turn on, you might need to bring in a professional electrician.  Luckily, you can find one in your area in just minutes by using TalkLocal to automatically connect you for free.  All you have to do is enter your name, contact info, and a short description of your problem.  Try it out today for all your home service needs!

How to Network Computers With Windows XP

Friday, October 5th, 2012

How to Network Computers With Windows XP Computer Repair

Setting up a home network has become much easier in Windows XP than it was in previous versions.  Windows XP network creation is a relatively simple process that anyone can handle.  There are many benefits of creating and maintaining your own home network including the sharing of printers, files, and internet connections.  This article will give you the basics of home network creation and show you how to network computers with Windows XP.

The first step is to make sure you have the necessary hardware to connect to your network.  There are three main types of networks: wired networks, wireless networks with routers, and wireless networks without a router.  If you are setting up a wireless network, you will need a wireless router to connect to your internet modem and wireless adapters for any computers you want to connect.  Ad-hoc networks without a router are also possible between computers that each have a wireless adapter.  Many laptops and computers come with built-in wireless adapters; if yours does not come with one, there are USB connecting adapters available for purchase at online sites like Newegg, or at any local computer/technology store.  For a wired network, you will simply need Ethernet cables to physically connect your computers together.  If you are connecting multiple computers in this way, you may need to get an Ethernet switch with many ports; these switches are also available online or at computer/technology stores.

To get the most out of your home connection, you will want to connect it to the internet.  This is the easiest way to share internet throughout your home.  Connecting your internet modem to your network is as simple as plugging it into you wireless router or wired Ethernet hub switch.  Once all of the connections between modems, routers, and computers have been made, follow these steps and choose either a wireless network with a router, an ad-hoc wireless network without a router, or a wired network adapter.

Once your network is installed and all of your computers are connected, there are a couple things you might want to do to keep it secure.  First, you will want to be sure that Windows Firewall is running to keep your network safe.  You can find a guide to setting up and using Windows Firewall here.  If you have a wireless network you should set up a WPA security encryption key.  You can find details on how to encrypt your network here.  Now that your network is secure, you should be ready to use it to share and to connect with all the computers in your house.  If you have problems setting up your network, you can use TalkLocal to find a local computer technician.  Just enter your location, availability, problem and TalkLocal will have you on the phone in minutes with someone who can help.

How to Fix a Doorknob that Keeps Falling Off

Friday, October 5th, 2012

How to Fix a Doorknob that Keeps Falling Off Locksmiths

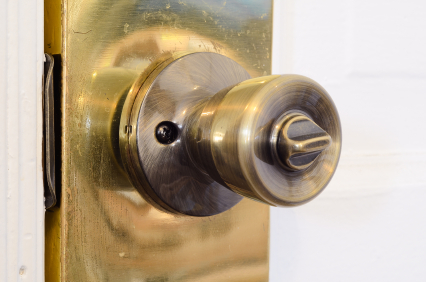
Frustrated by a doorknob that keeps falling off? This could be happening for a couple reasons. First, the locking mechanism on the door handle might be malfunctioning and failing to properly open and latch the door. The second reason the handle might fall off could be a result of loose or missing screw in the doorplate. Whatever the reason, this is a simple problem that can be fixed on your own at home, saving you time and money. Read on for tips on how to fix a doorknob that keeps falling off.

Steps:

1.      Remove the door handle. Either unscrew the external screws to loosen the handle, or hold one side of the handle still while untwisting the other side.

2.      Remove the doorplate, and fill the screw holes with putty, which can be purchased at your local hardware store. Let the putty dry for a few hours. The putty will create a tighter fit for the screws when you reassemble the doorknob. Use a power screwdriver to replace the screws when you’ve finished.

3.      Reassemble the doorknob working in reverse order.

4.      Use a screw locker fluid on the external screw of your doorknob, and screw clockwise until it no longer turns. Let dry completely for a full 10-12 hours.

If you’ve successfully completed these steps and your doorknob is still loose and/or falling off, consider hiring a professional to help you fix your problem. TalkLocal can connect you to a highly rated local professional within minutes.

Washing Machine Moves Across Floor

Thursday, October 4th, 2012

Washing Machine Moves Across Floor Appliances Repair

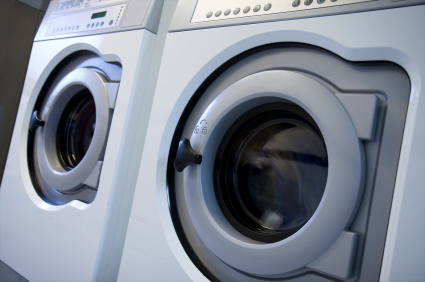
It’s important to keep your washing machine on a level ground if you want it to do its job. A washing machine that isn’t positioned evenly will not work efficiently and will move around. Balancing it isn’t too difficult, so if your washing machine moves across the floor, continue reading.

First you will want to check and see if your washing machine is level. Check underneath the machine and ensure you can see all four feet are firmly planted on the floor. If you’re reading this, chances are they aren’t all firmly on the floor.

Identify which side of the washing machine isn’t level by placing a carpenters level on the top of the front edge of the washing machine and checking for the air bubble to see which side of the washing machine is low. The bubble will be on the side of the washer that needs to be lower.

On the feet of the washing machine will be locknuts that need to be adjusted. Using a wrench or pliers, loosen the locknuts and turn the front feet until the bubble on the carpenters level is in the center. Now that the front feet have been evenly leveled, the back feet are next. Tilt the washing machine forward so that the back of the washer lifts off the floor. Since back legs of a washing machine are almost always self-adjusting, this step allows the back legs to easily adjust.

After placing the machine back down and in place, place the carpenters level on the left or right edge of the machine so as to check whether the washing machine is level from the back to front. If they aren’t, turn the front feet until the bubble is in the center of the carpenters level. When you finally manage to level the washing machine, tighten the locknuts to ensure it stays in place.

This process isn’t too complicated, but if you followed these steps and still need help or if you have a different issue with your washing machine, consider using TalkLocal. TalkLocal is a free service that will connect you with top-quality, reputable appliance repair companies in your neighborhood within minutes. Just enter in your specific problem, location and availability, and up to three companies will call YOU directly, saving you the time and stress of finding one yourself.


Macbook Pro Freezes When Connected to External Monitor

Thursday, October 4th, 2012

Macbook Pro Freezes When Connected to External Monitor Computer Repair

“Use an external monitor,” they said. “It will be useful,” they said. I tried it out and, lo and behold, my workspace doubled and I was a happy camper—that is, until my Macbook froze. No one warned me about the red screen of death (yes, red) on my laptop, which occurred five minutes after connecting to an external monitor. Other Mac users have reported similar problems of random screen colors on their laptop—rainbow screens of death, if you will. Alongside the colorful Macbook screen, the external monitor turns completely black. Read on for some possible solutions if your Macbook pro freezes when connected to an external monitor.

This problem has been most common among Macbooks and Macbook Pros from 2010 (mine is a late 2010 MacBook).  Apple has yet to release an official support article for why the laptops have been freezing when connecting to an external monitor, but the following solutions have worked for some users in the Apple Support Community:

Reset The System Management Controller (SMC)

  1. Turn off your computer.
  2. Connect a MagSafe power adapter from your computer to an outlet.
  3. Press and hold Control+Shift+Option+Power button for 15 seconds.
  4. Release the keys at the same time.
  5. Turn on your computer.

Reset the Parameter Random Access Memory (PRAM)

  1. Turn off your computer.
  2. Turn on your computer.
  3. Press and hold Command+Option+P+R before the gray screen appears. Hold the keys until you hear the startup sound again and the computer restarts for the second time.
  4. Release the keys.

Some users have fixed the freezes by replacing their logic board or RAM memory. See if your warranty covers this replacement or have a professional take a look. TalkLocal can connect you with high-rated computer repair services in your area. Help is just a short service request away. Tell TalkLocal your service need, availability, and location and talk to a service provider in minutes! Meanwhile, keep your laptop away from external monitors. Don’t be greedy; you’ll survive with one screen for now.

Tools for Landscape Design

Thursday, October 4th, 2012

Tools for Landscape Design Landscapers

Landscaping is a large project to undertake on your own, but if you are willing to put in the time and effort, the end result could be amazing. A good landscaping job makes your house look clean and attractive. If you have the right equipment, you can easily achieve the same look as if you hired a professional.

A common mistake some people make is buying too much equipment without knowing exactly what they need or what they want to do.  You should take the time to plan out what you want your lawn to look like.  You can do this very easily but using online landscape design programs. There are many different options for you to choose from when looking for tools for landscape design.

The basic equipment you will need include the following:

– Leaf Blower

– Line/Hedge Trimmer

– Lawn Mower

– Hand Tools: spade, shovel, hoe, etc

– Wheelbarrow

– Edgers

– Safety Equipment: gloves, goggles

You can also go all out and rent more serious equipment if you need:

– Trucks

– Trailers

– Chainsaws

– Bed Edging Materials

– Water Features

– Herbicides, Insecticides, Fungicides, and any other cides!

If you are looking for a professional opinion on landscaping for your lawn, you should seek specialized help. Use TalkLocal to be put in contact with reliable local landscaping businesses.  You don’t have to do any work. Simply input what service you are looking for along with your availability and you will be connected to a qualified company who can help you out almost immediately.

Rusted Door Lock

Thursday, October 4th, 2012

Rusted Door Lock Locksmiths

Just like anything made of metal, door locks can get rusted over time, especially if they are on the outside of your home and get exposed to moisture. If you let enough rust build up, it can start to impede the lock mechanism from turning, block up the keyhole, or even completely freeze the lock. Once it is in this state, it may seem like your lock is completely unrecoverable, but there are some tricks you can use to get it functioning again. Keep in mind that some locks really will be rusted beyond hope of salvation, so if you are still having issues after reading these tips on how to fix a rusted door lock you might need to replace yours with a new one.

Outright replacement is our last resort, however. First, try applying some WD-40 to your rusted lock.  WD-40 is a lubricating oil that has a wide variety of uses and is available in any grocery, convenience, or hardware store. Try to find some that comes in a spray bottle; this will be easier to work on your locks with. Once you get the WD-40, spray it liberally into the keyhole of the lock and around the bolting mechanism. Your goal should be to get as much of the oil into the inside of the lock as possible. After applying the oil, let the lock sit for about thirty minutes to dry and then wipe away any excess. Then, insert the key and gently turn it side to side to knock away the rust that has been loosened by the oil. If there is a large amount of rust build up you may need to use a small cotton swap to wipe it out from the inside of the keyhole.

Depending on conditions, you may need to repeat this process several times to get all of the rust out and your lock back to working order. Once you have gone through four iterations without any success, it is probably time to give up on the lock. Luckily, you can use TalkLocal to find a locksmith in your area and have someone on their way to replace your busted lock in just a few minutes. All you need to do is enter your location, availability, and a description of your problem and TalkLocal will connect you automatically to someone who can help.

How to get Rid of Allergens in your Home

Thursday, October 4th, 2012

How to get Rid of Allergens in your Home Maid Services

When allergy season comes around, we often run indoors in an attempt to escape from the allergens outside. However, our allergies might actually get worse while we’re indoors due to trapped allergens within our house. By taking the right preventive measures, you’ll be able to make your home a safe zone for those who suffer from allergies. Try the following tips on how to get rid of allergens in your home:

– Dehumidify your home and keep it cool. Mold and dust mites thrive in hot and humid areas.

– Your heating and cooling system should have a small-particle filter that is cleaned or replaced often.

– Exterminate cockroaches and mice that bring allergens into your home.

– Use dehumidifiers and air conditioning, in addition to closing your windows and doors during hot weather in order to prevent mold.

– Clean surfaces that are often exposed to allergens every week, such as windowsills, the sides and tops of doors.

– If you have carpet, vacuum at least twice every week. Carpets are notorious for trapping allergens, and if possible, you might consider switching to wood or linoleum floors.

– Don’t smoke indoors, as cigarette smoke can trigger allergies.

– Keep pets outside if you’re allergic to pet dander and brush them often to get rid of excess hair so they won’t shed all over your house.

– Wash your bedclothes at least once a week at high temperatures.

– Roller type shades are better than horizontal blinds. Curtains made of synthetic materials or plain cotton also trap less allergens.

– Dry the bathtub and enclose the bathtub after use to prevent mold.

– Remove the obvious mold that’s already there, usually located in moist areas like near the faucet, in the bathtub, and around the toilet.

– Repair leaks as soon as you find them.

– Upholstered furniture tends to trap more allergens than plastic, leather, or synthetic types.

– Avoid potted plants indoors.

– Install an exhaust fan in your kitchen.

– Make sure there’s no food left out for long periods of time, including dirty dishes.

– Throw away old food in the refrigerator often.

– Take out the trash every day.

Maintaining a clean household is the key to preventing allergens from taking over your home. Not everyone has the time for this, so use TalkLocal for free to hire a professional maid who will keep your home allergy-free for you.