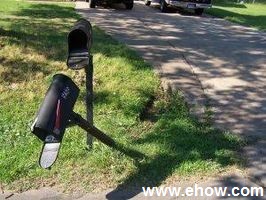
Weather, accidents, or simply time will take a toll on your mailbox post. Sooner or later you’ll have to fix or replace it. Fortunately, this is an easy job that you can do in a couple of hours. Here are the main things you need to know for your fix mailbox post project.
1. Check the Old Mailbox Post
Is your old mailbox post broken or only loose? Is it set in cement or into the ground? If it’s set in cement, you might want to change its location, because it’s difficult to remove the old cement. You can place the new mailbox post nearby or nail the new post into the old spot.
2. Find another Mailbox Post
When you plan to fix a mailbox post, you need to consider the length of the post. According to federal regulations, your mailbox post should be 41-45 inches long, so remember this when you choose a new one.
3. Prepare the Mailbox Post
To prevent rotting, it is advisable to treat the part of the post that will be inserted into the ground with a protective coating. Apply the preservative substance and let the mailbox post soak for a day before installing it.
4. Install the Mailbox Post
Dig a hole in the selected location, with a depth of about 2-3 feet. Put a layer of gravel on the bottom of the hole to allow water drainage. Place the mailbox post into the hole, and then back fill with the spoil that you dug out. Make sure your mailbox post is straight by using a level.
5. Put the Mailbox on Your New Post
The last thing to do to after installing the post is place the mailbox on it. You can use screws or nails to set it in place. Your mailbox is now ready to be used.
Need a Handyman?
Call Seva Call today and we’ll connect you with local professionals that can get your job done. It’s fast and free!
Tags: mailbox repair

