Archive for the ‘Landscapers’ Category


How To Install A Garden Fountain

Saturday, June 1st, 2013

How To Install A Garden Fountain - Landscapers

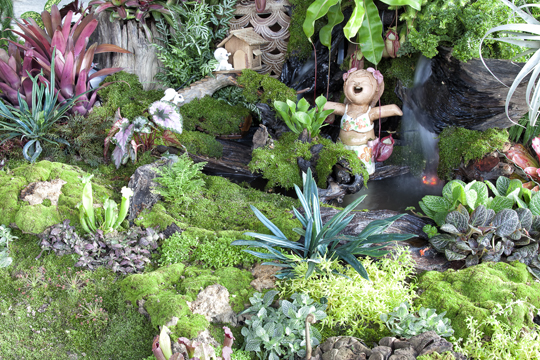
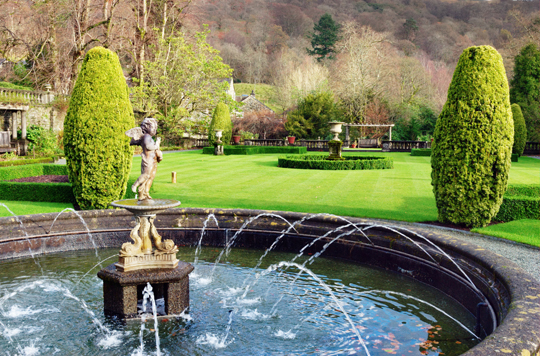
The bubbling sounds of a garden fountain, along with its classic look and natural beauty, really make your lawn, garden, or patio stand out from the backyards of your neighbors. Even just a small garden fountain can dramatically change your home’s look. Learning how to install a garden fountain isn’t really difficult, and as long as you’ve got a friend to help, you’ll end up with a great looking addition to your garden in no time.

How To Install A Garden Fountain

1. Pick the fountain’s location. Make sure it is somewhere that can support the fountain and isn’t likely to flood if it rains.

2. Level the location. Make it about three inches lower than the rest of the land around it, and make this spot about three inches wider than the actual base of the fountain on all sides. Make sure you use a rake to remove any dirt or rocks.

3. Use stone dust and small rocks — about five times more dust than rocks — to create a mixture to cover the dirt in this spot. Use a ground tamp to secure it.

4. Measure the area with a level. If it isn’t level, add dirt, then cover that with stone dust. Tamp it and measure again. Repeat until level.

5. Have a friend help you place the fountain’s base in the middle of the dirt. It will be heavy! Measure it to make sure it’s level and add dirt if you need to.

6. Put the pump in the fountain base. Run the cord out of the drain hole.

7. Put the drain plug in the drain hole.

8. Seal the drain plug. Silicone sealant works best.

9. Make sure the solar power supply is out of the way, but can easily receive sunlight. Bury the cord. Burying it about six inches below is best.

10. Have your friend hold the fountain top while you thread the water tube up through the bottom. Stop when it reaches the top part of the fountain hole. Set the fountain into place, fill it with water, and start the pump.

Too Much To Remember?

There you go! Now you have a beautiful fountain in the midst of your garden to enjoy while you sit outside, taking in nature. If you have more questions or would prefer to have your fountain professionally installed, TalkLocal can connect you with companies or professionals that can help.

Best Uses Of A Small Garden

Wednesday, May 29th, 2013

Best Uses Of A Small Garden - Landscapers

If you have a small backyard or limited space for a garden, there are ways to make the most of it. Some of the best uses of a small garden turn out to be the most beautiful. Don’t let a small area prevent you from enjoying a garden. Utilize some of these methods that will have you planting and gardening anywhere.

Raised Flower Beds

Raised beds can be placed anywhere and are easy to build yourself. Simply build a box or rectangle shaped wooden frame, place it in the desired area and fill it will potting soil. Add your flowers or other plants and tend to them as you normally would. Raised beds can even be used on concrete patios or balconies.

Stacked Garden Beds

The best way to make the most out of a small area is to stack some garden beds. This is one of the best uses of a small garden because the stacked beds give you more space vertically even if your overall space is limited. To build stacked beds, start with large base and fill it with dirt. Add another bed on top of the base but offset it so it does not cover the entire open space. The space should resemble stair steps. You can plant various plants and vegetables in each section of the stacked bed.

Borders

If you do not have any yard space, look for a place to add a border garden. Choose the area around your house, patio, or sidewalk. Dig a small trench and add your plants. You can add gravel or mulch on top of the dirt to create a tidy look that adds beauty to your yard. Border gardens work well with flowers but can also be used to grow vegetables and other garden items.

Need Some Ideas?

The best uses of a small garden can help make your yard look nice and be useful. If you have a small yard or no yard at all, don’t get discouraged. Use one of these solutions and get your green thumb ready.

You can also seek professional help by logging on to TalkLocal and putting out the word. We can connect you with qualified landscapers that can help with your project.

How To Build A Wooden Gazebo

Sunday, May 26th, 2013

How To Build A Wooden Gazebo - Landscapers

If you have finished your landscaping but something is still missing, you may be exploring how to build a wooden gazebo in order to complete your look. Wooden gazebos can add a beautiful, whimsical quality to any landscape and provide a sheltered area to enjoy your creation. Experienced builders may simply need a blueprint design in order to determine how to build a wooden gazebo, but for the less experienced of us, many home stores make it relatively simple.

How To Build A Wooden Gazebo

1. Find out the permit requirements in your area. Some towns are stricter about building requirements (i.e. depths of posts, spacing of joists, etc.) than others.

2. Ask your local lumber store if they provide blueprints for out-buildings. Many will help you design your building and even get you the exact lumber and materials you need to complete your project.

3. Ask if they can pre-cut the material for you. This might make the cost a bit more expensive, but it will take a lot of the guess work out of your project.

4. Before you check out, make sure you are provided everything you will need to complete your project. Most stores will provide kits that are not necessarily sold in boxes. Instead, the store will put together a package of everything you need.

5. Follow the blueprints exactly. You will want at least one other person with you to help you stay on track and make sure you are safe. Even though your materials may be pre-cut, that does not eliminate the possibility of an error. Be prepared to shave off some pieces to ensure the perfect fit.

Overwhelmed?

If the idea of taking on a complicated project like a wooden gazebo is just a bit too overwhelming, try calling a professional. He or she will know how to build a wooden gazebo in likely a much shorter time than you could. TalkLocal can match you with a qualified professional in your area for free. Try our easy service today!

How To Remove Shrubs

Tuesday, May 21st, 2013

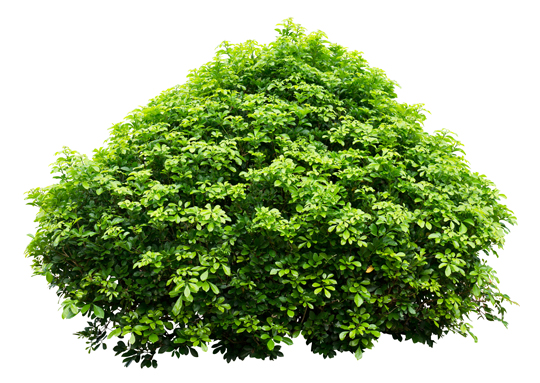
How To Remove Shrubs - LandscapersJust because you plant a shrub and it takes root, doesn’t mean that you cannot move it around within your landscape or remove it altogether. When a shrub is no longer healthy, or simply does not mesh with your landscape, it might be high time to get rid of it.

If you do not know how to remove shrubs, you will likely end up with tired arms and an achy back. Once the roots take hold, a shrub is not going anywhere without a fight.

How To Remove Shrubs

1. Trim the shrub back as best as you can. It is not easy trying to handle a shrub with long, out-of-control branches. Prune the shrub the best you can so you don’t have to deal with something so bulky.

2. Start by digging in the area around the shrub. If you immediately dig in your shovel at the base of the shrub, you will be slowed up by thick, stubborn roots. Plus, if you break those roots, you will damage the shrub and you will not be able to replant it.

3. Dig around the base of the plant with a roughly two-foot radius from where the shrub enters the ground. Once you dig down, start working your way in toward the shrub.

4. Even if you plan on replanting the shrub, you can still clip away the smaller roots to make it easier to dig. You will want to try to preserve the larger roots if possible. To do this, dig around these main roots, clearing the soil away to expose them.

5. As you dig and clear dirt away, continually wiggle the shrub in an effort to jar it loose. This certainly will not be a quick and easy process. If the shrub has been there for a long time, or is especially big, the roots will have a firm hold on the soil.

6. Once you are able to remove the shrub completely, make sure to go back and take out any roots that remain in the soil. This ensures that you won’t face unwanted growth in the future.

Call In The Guys That Know How To Remove Shrubs

There is a real science to removing shrubs, and most landscapers have it down cold. If you require the services of a professional landscaper, TalkLocal can help you find one in your area fast. Try out our service and see how effective it truly is.

Plant Evergreen Trees

Thursday, May 16th, 2013

Plant Evergreen Trees - Landscapers

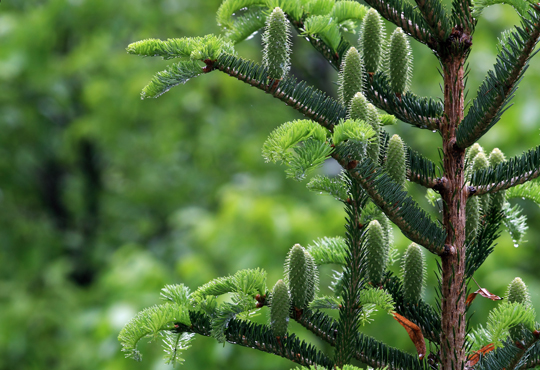
In the winter, when most plants die and trees lose their leaves, you may find yourself wishing your yard had more color. A lot of times, the creaky branches of the hibernating oak and maple trees can be depressing. One way to add some year-round color and flair to your yard is to plant evergreen trees.

Before you plant evergreen trees in your yard, you may want to know some facts about and benefits of evergreen trees.

– As evident by the name, evergreen trees remain green year round. This is why they are such a popular tree in winter scenes; they add color and beauty to an otherwise white, possibly dreary scene.

– The best time to plant evergreen trees is in the spring right after that last frost leaves the ground. This is because the cool weather and rain likely to come are good for the tree’s adjustment into the ground.

– If there is a late frost after you plant your tree, don’t worry about it. Evergreens are more durable and longer-lasting than other plants, which would be hindered by a late frost.

If you want to plant evergreens from seeds, you will have to take a few extra steps:

1.You will want to refrigerate the seeds for three weeks before you plant them. This mimics the natural cooling process after the last frost in spring, which helps the trees when planted.

2. After this, you should soak the seeds in some water over night, then put the wet seeds in a shallow dish sealed with plastic so they can germinate.

3. Evergreens can come in lots of shapes and sizes, although they typically look like a triangle. Although some can grow to be very large, you can also get Dwarf Evergreen trees if you want something that will always be smaller.

Find A Local Resource

Evergreen trees offer a permanent, year-long splash of color for your home or business. If you are interested in planting these beauties, or if you need more information about them or your landscaping needs, we at TalkLocal can connect you with the professionals in your area who can help.

Using Salt In The Garden

Sunday, May 12th, 2013

Using Salt In The Garden - Landscapers

Are you looking to fertilize your garden but want to shy away from the harsh chemicals of traditional fertilizers? Using salt in the garden might be your answer.

What Epsom Salt Can Do For Your Garden

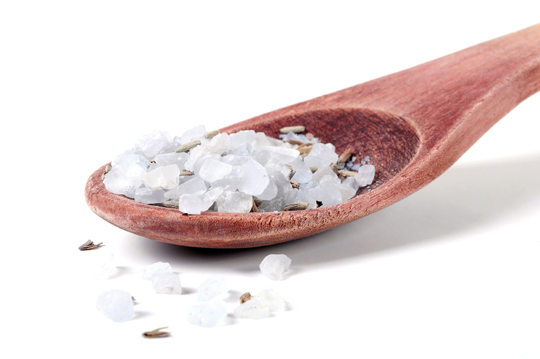
Using Epson salt — which is salt in its natural mineral form — is a practice which has been utilized by organic gardeners for a long time. Epsom salt is rich in both Magnesium and Sulfate. These are two minerals that plants and some flowers can put to good use, making for thriving, lush, green plants in the garden. Magnesium is key in seed germination and plays a role in photosynthesis. Sulfate is also important in the production of chlorophyll.

Adding Epsom salt is important, because these minerals are not always naturally found in the soil at sufficient levels.

Applying Epsom Salt To Potted Plants

While expert plant growers continue to debate on whether salt really aids the growth of plants, adding salt to a garden or potted plants is easy and certainly will not present any negative side effects.

You can add salt to potted plants to help them grow better. To apply salt to potted plants:

1. Dissolve two tablespoons of Epsom salt for every gallon of water.

2. Put this water/salt solution in a watering can.

3. Pour the water on the potted plants. Water your plants with this mixture for about a month to give them a chance to absorb the water and minerals of the Epsom salt.

Using Salt to Plant Plants In A Garden

Using salt in the garden when you first plant your plants is ideal. The salt can be most effective when the plant is in its early stages. To do this, simply spread around 1 cup of Epsom salt per 100 square feet of soil. This is done before you install any of your plants. Work the salt into the soil and then place the plants. This will hopefully help young plants and germinate seeds.

Finding Help In The Garden

Professional landscapers know how to maintain beautiful looking yards and gardens. If you a need help from a local landscaper, use TalkLocal to find one. Once you submit your inquiry, we’ll have you on the phone with someone who can help within 90 seconds.

Best Deck Material

Friday, May 10th, 2013

Best Deck Material - Landscapers

Having a deck offers a lot of space for outdoor eating, socializing and other activities. If you do not want to build your own patio, but you are interested in having a hard surface outside of your home, a deck can go a long way. Picking out the best deck material is a decision based on your own needs and desires.

There isn’t really one end-all, be-all, best deck material. Different deck materials serve different purposes and offer various benefits. Here are some examples of common deck materials and their benefits.

Wood

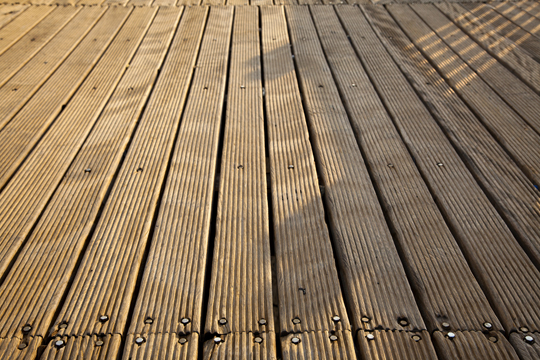
Wood is one of the most common deck materials out there. Its natural beauty and durability put it at the top of most people’s lists for outdoor building, especially since it can be stained in various shades or painted different colors to match your home perfectly.

Different woods are priced differently, but building with wood tends to be cheaper than other materials. Although wood decks are durable and can endure the elements, they will need some maintenance and resealing if they encounter damage.

Composite

When you build a composite deck, you are using natural wood and some synthetic materials to get a look very similar to a wooden deck with a bit more durability and less maintenance. Composite decks are pretty eco-friendly in that they use old sawdust or recycled wood that could have otherwise been discarded.

Composite decks tend to be more resilient to rain and other natural elements. They can also be formed into different textures and colors.

Aluminum

These are the most water-resistant decks. They are made from metal panels that are connected side-by-side. They require very little upkeep because of their resistance to the elements. They also look sleek and they are a modern twist on a classic outdoor space.

That said, they can become dented if they are hit hard enough, and they do show dirt much clearer than wood or composite decks, meaning you will need to spray them down with a hose from time to time. They also tend to be more expensive than other decks.

Find Someone To Build Your Deck

All of these materials will leave you with a beautiful, multi-purpose, outdoor space. TalkLocal can also connect you with the professionals you need to get your questions answered and your deck built so you can begin enjoying nature.

Are Koi Ponds Expensive?

Sunday, May 5th, 2013

Are Koi Ponds Expensive? - Landscapers

A koi pond can be a relaxing and unique addition to your backyard patio. Your next question might be: Are koi ponds expensive? The answer, in a nut shell, is “yes”. However, there are many factors that go into the price of a koi pond.

After considering the following factors, you may find areas where you can cut cost. Many koi pond owners find that the addition of a koi pond is a labor of love and worth every penny. It certainly is an elegant touch to a yard that will have all your guests talking.

Initial Construction: Depending on the size of your pond, initial construction prices can be upwards of $1,200 to have a professional complete your pond. This price increases as you increase the size of your pond. Koi ponds must be at least two feet deep in order to accommodate the fish, though, depths of four to six feet are recommended to prevent a complete freeze in winter and to deter predators.

Permits: Your town may require permits for digging ponds at the depths you will need to dig. These permits almost always come with a fee.

Fencing: Insurance companies and municipalities may require fencing around the pond or yard to prevent accidental drowning. Even if this is not required, it is still a smart move, especially if children will be playing around the area.

Supplies: You’ll need a filtration system, water pump, water testing materials, and food. To give you an idea, pumps generally run $60 for a 500-gallon per hour pump. You must also include your electricity usage in these prices, as well.

Fish: You can get fish on the cheaply for four to 28 dollars per three-inch fish, depending on their grade. The bigger the fish, the more you will pay. Prices can reach thousands of dollars for fully-grown fish.

Consult the Experts

Some professional landscapers can give you a more accurate estimate on what your individual pond can cost, putting to rest the question: Are koi ponds expensive? To find one qualified to help, try using TalkLocal’s service. We will connect you with a landscaper in your area for free, and our service is incredibly easy to use.

Benefits Of A Gazebo

Thursday, May 2nd, 2013

Benefits Of A Gazebo - Landscapers

If you feel like your yard needs a bit of an update, you might be considering a gazebo. Gazebos are beautiful, but they are a lot of work to build. If you are wondering whether or not having a gazebo is worth the work, consider these benefits of a gazebo.

Gazebos Are Great Throughout The Year

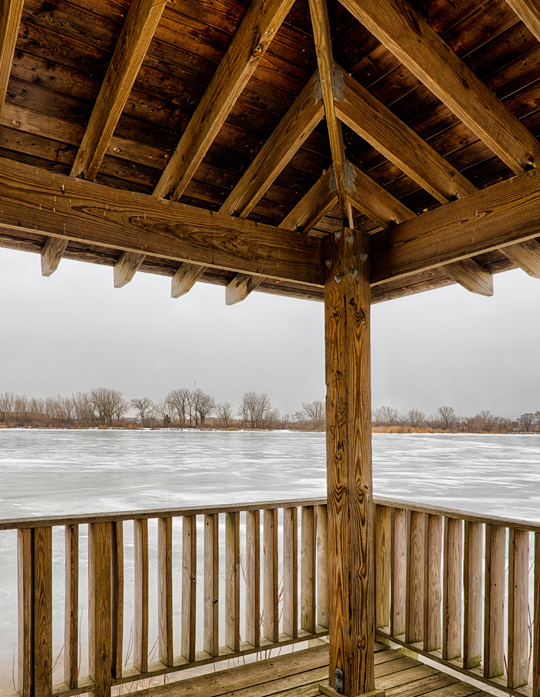
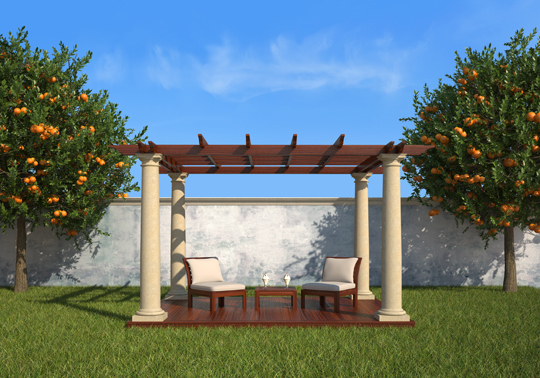
During warmer months, you can sit in your gazebo and enjoy the beautiful weather. If you live in a snowy area, you can use your gazebo as a dry spot to enjoy watching that gorgeous snow with a cup of coffee or hot cocoa. In the fall, watching the colorful leaves change from your comfortable gazebo can be a beautiful sight, too. You can utilize your gazebo year round, no matter where you live.

Gazebos Offer A Social Boost

Your gazebo will begin to feel like a natural space to gather with friends, neighbors and loved ones. Whether you and your buddy are sitting down enjoying nature and a nice lemonade, or if you set up a small table to enjoy an autumn cookout, you’ll find that your gazebo offers a comfortable seating arrangement with a beautiful view, in addition to your home patio.

Gazebos Add To Your Home Value

These structures are so beautiful and useful that your home value will generally increase. Whether you plan to sell your home in the future, or if you don’t know what the future holds, it doesn’t hurt to have a beautiful gazebo to enjoy in the meantime, and add some equity to your if you do sell.

They Make A Beautiful Photographic Setting

Your holiday cards, first day of school photos, and any photos you take in between will have a beautiful background for you, your family, or your friends.

Looking To Install A Gazebo In Your Landscape?

The benefits of a gazebo can help you improve many aspects of your home. More importantly, it can help you enjoy your yard and nature even more. TalkLocal can connect you with the professionals in your area that can help you build your gazebo.

Can Gardeners Prune Trees?

Wednesday, April 24th, 2013

Can Gardeners Prune Trees? - Landscapers

Why do we prune trees? Pruning mainly serves two purposes: attractiveness of the tree and the health of the tree. But you should also prune the branches that hang loose or could pose a danger when they fall down. Pruning the branches that are diseased in order to prevent the disease from spreading to the stem of the tree or to other branches is a good idea, too.

But can gardeners prune trees? In general, yes. If you want your gardener to prune the trees in your yard, you may have to provide the necessary equipment for them to do so; a ladder, an electric trimmer, rope — this equipment will likely be needed in order for your gardener to prune your trees effectively. We have a few tips for pruning trees for you and your gardener.

What to Do

The common mistake people make when pruning is making one cut for the branch they want to prune. This is a mistake, because tree branches are not exactly designed to be “cut” — once you cut a branch, you will notice that the branch tries to endure the cut, and the bark and fibers of the tree will drag across the branch, leaving a bad scar.

1. Make an small, “safety” cut before you make your cut. From the base of the spot you want to cut the branch, move a little bit farther away from the main stem of the tree and cut the underside of the branch – only a little bit. This ensures that the bark and fibers won’t stretch over to the tree’s stem or to the branch itself when you try to cut the branch.

2. Make a second cut, again a bit farther away from the main stem of the tree and the previous underside cut you made — make a downwards cut.

3. Now cut the branch off — throw away the rest of the branch (that you just cut) in a safe place. This cut was safe to do because of the previous cut you made.

4. Finally, cut downwards on the base of the branch that you originally cut. Since there is not a lot to cut, the cut should be relatively safe — but be careful as to not apply any unnecessary downward force on the branch when cutting. Doing so may inflict unnecessary scars on the tree.

Additional Help

Can gardeners prune trees? Of course — but after reading this guide, you can too! Some trees may be too talk for an inexperienced person to prune properly and safely. In this case, contact a professional. If you feel like you need professional help on pruning trees, TalkLocal can help with finding the correct local experts in this case, saving you time and energy in what may be a stressful situation.