Archive for the ‘talklocal’ Category


Five Super Fun Kids’ Crafts for Halloween

Tuesday, October 20th, 2015

shutterstock_221065264

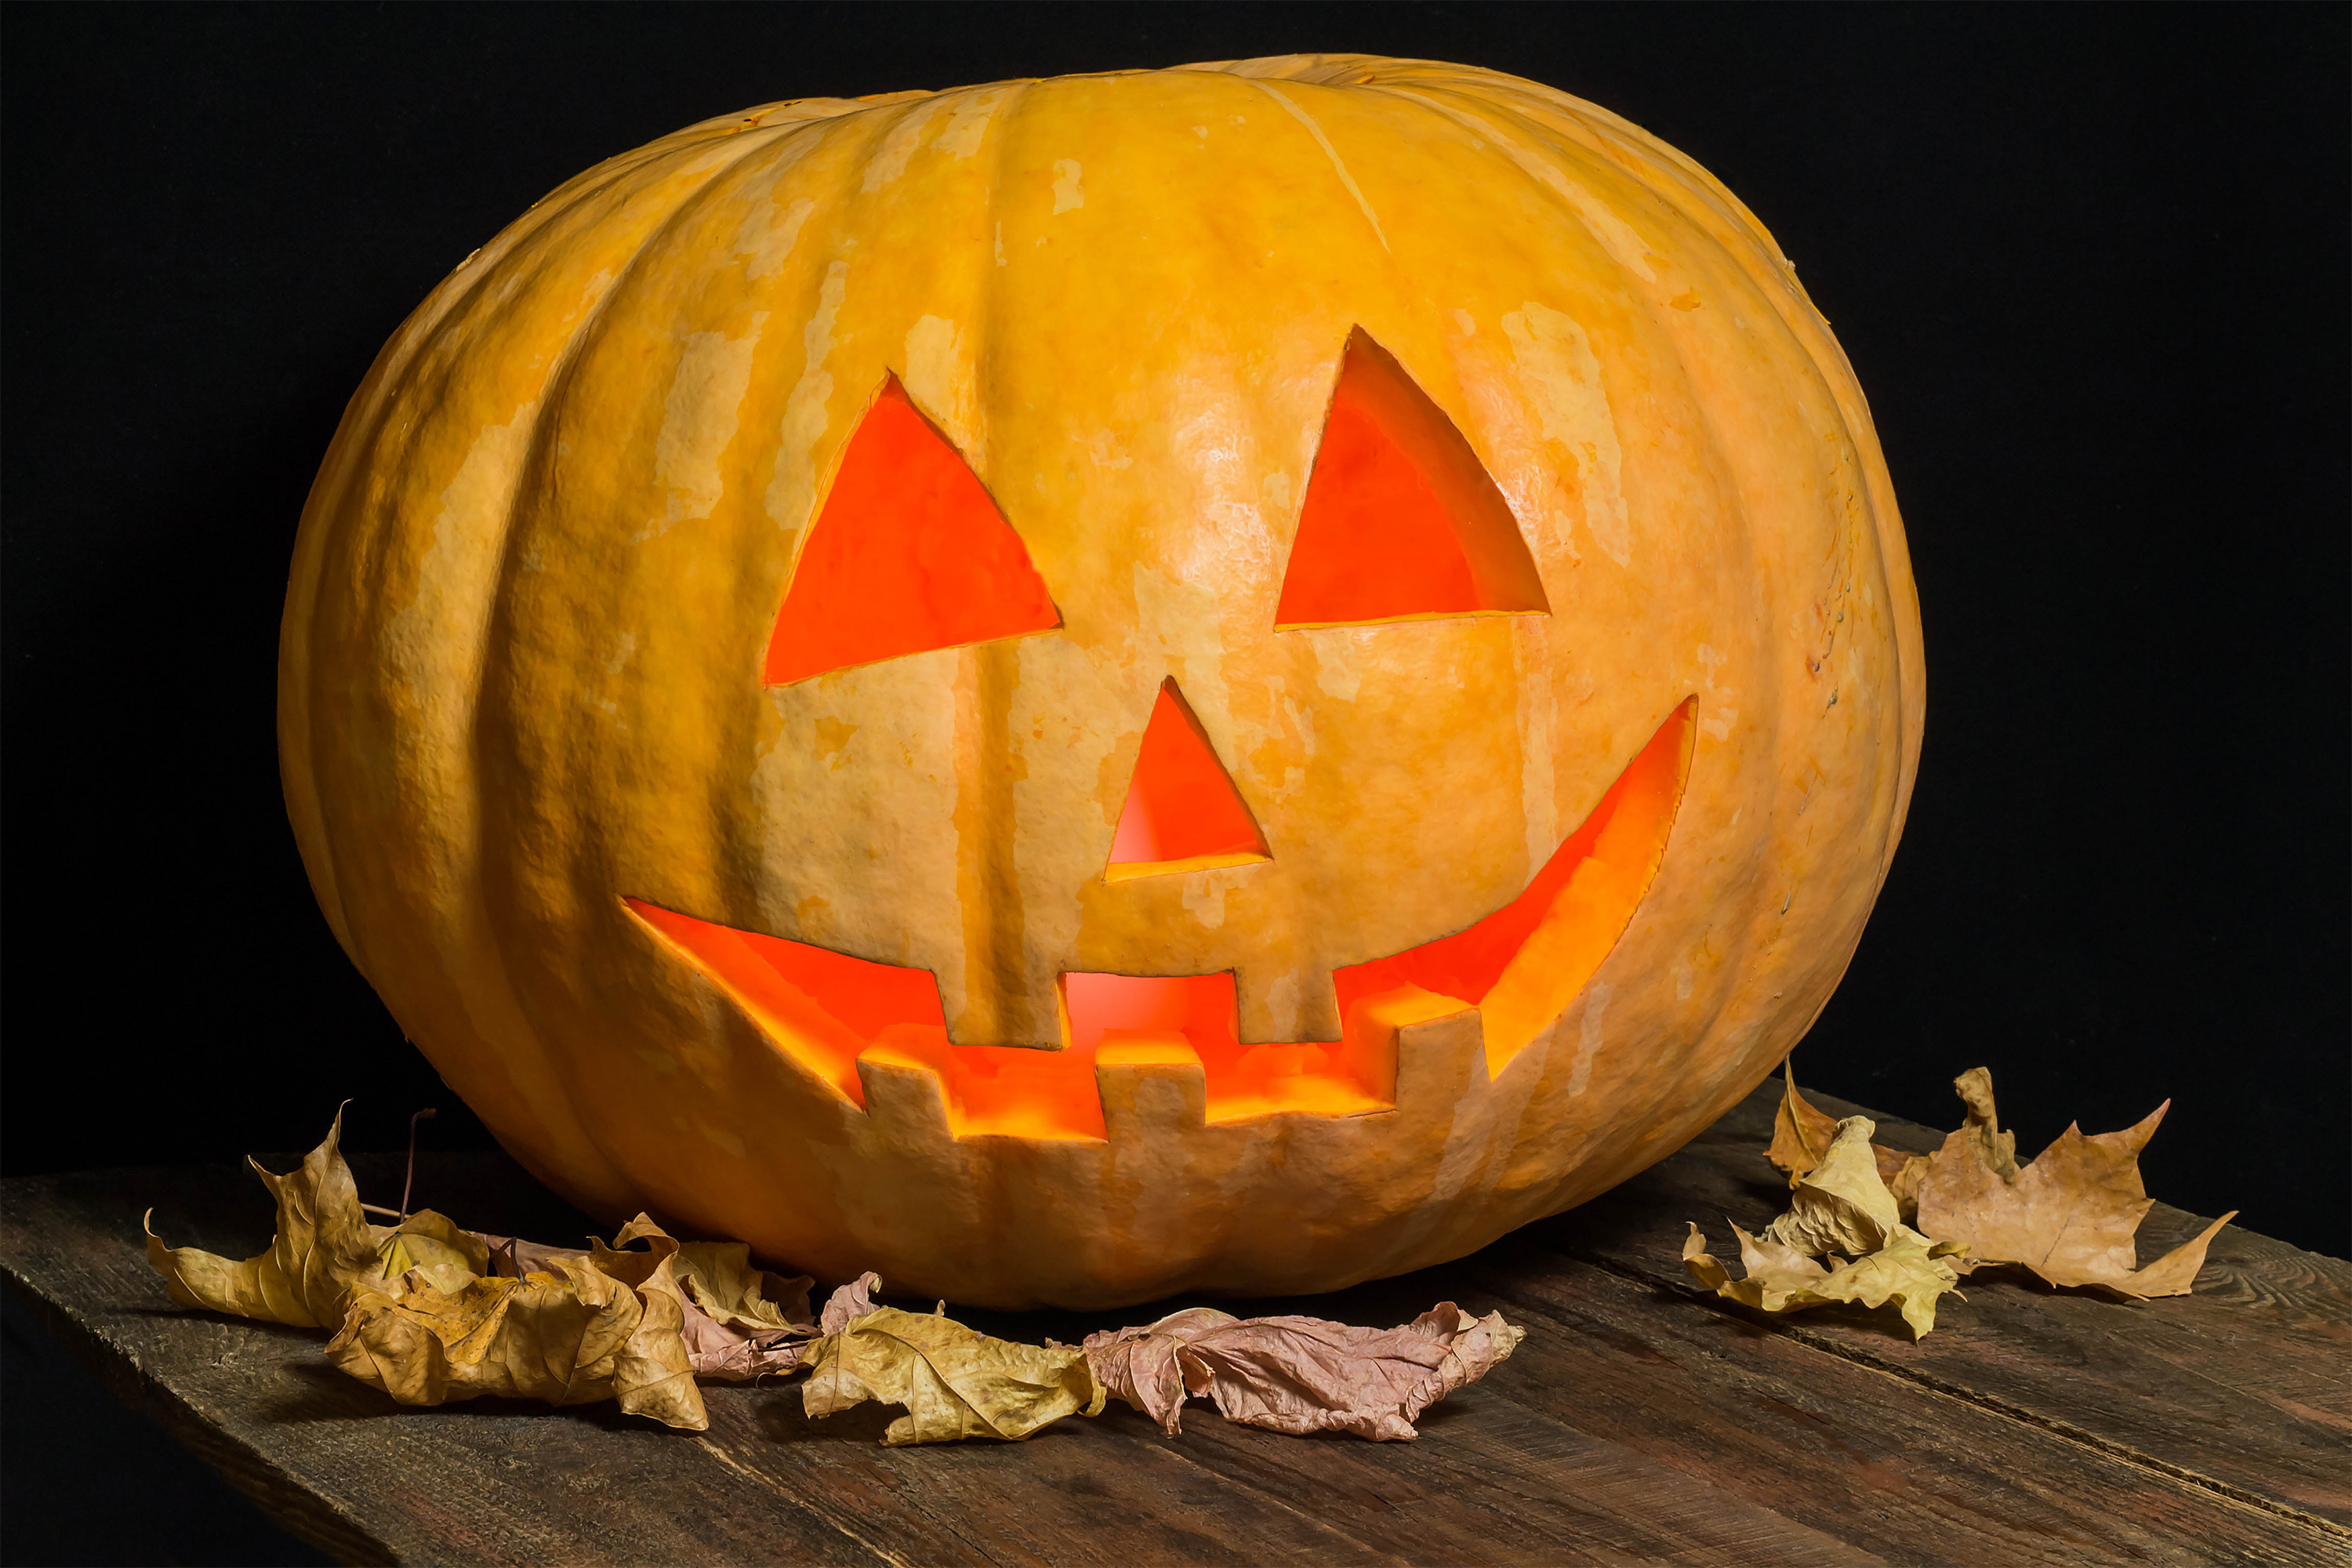
It’s the final countdown to October 31st! Soon, you’ll need the mountains of Halloween candy ready and the kids will need to have their costumes primed and prepped. You’ll also probably need to put up a decoration or two. Now, how do you distract the kids long enough to get those things ready?

Well, to help keep the kids busy for a while and even get some cute (or terrifying) Halloween decorations up in time, here are five super fun kids’ crafts for Halloween that we loved on our Pinterest board:

Halloween Tin Can Bowling: What’s better than crafts for kids? Crafts for kids that continue to distract them afterwards, of course! This Tin Can Bowling DIY is child’s play, literally. Take about five or so tin cans and have the kids paint them to look like fun Halloween monsters. When that’s done, give your children some room and a small ball (no firmer or larger than a tennis ball) so that they can defeat their monstrous creations by bowling them over.

Black Sock Cat: Happen to have a black sock and don’t know what to do with it? Well, the kids can lay the sock flat, trim the ankle opening into a big C shape, then stuff the sock full of soft cottony filling. Afterwards, we recommend you being the one to sew it up. Add a cute ribbon,  some little button eyes, a triangle nose, and you have a new pet cat who is plushy, pawless, and will keep the kids entertained and the upholstery perfectly safe!

Handprint Witch: Hand painting is fun for the kids because it’s messy and it lets them personalize their art. Bonus, it helps you track their growth over the years and remember how little they once were. The handprint turkey is already popular in school, so why not adapt it to the Halloween season? The kids can turn their handprint into little witches. A green handprint, some orange paint for hair, a paper pointy hat, and whatever other witchy things they can think of.

Fuzzy Monster Snap Bracelets: This one is great because the kids can walk around with them and show them off to their friends. Pick up a fuzzy snap bracelet and some googly eyes. Put on as many eyes as you want (we say the more the better), then add some felt scraps for whatever special kind of monster your child wants to represent.

Halloween Garland: A Halloween garland is pretty simple to make. You’ll need various colored construction paper (orange, yellow, black, all the fun Halloween colors), then you cut them up and make them into whatever Halloween thing you want before you glue them to a long piece of string. Voila! Hang them up wherever you want them in the house, or even outside.

So, there you have it! If you have anymore craft ideas that you want to share or look for, then check out our Pinterest board. Also, don’t forget to give TalkLocal a ring when you need a professional to get some home projects done before the twilight hour.

Happy Halloween!

Fall Harvest Decoration: Recycling Fall Leaves

Friday, October 16th, 2015

Woman putting leaves gardening cleaning bucket housework

Okay so you spent countless hours raking out leaves from your front and back yard…you’re tempted to just throw them in the trash bin — but don’t! There are tons of ways you can reuse your fall foliage with DIY projects.

What you’ll need:

Leaves
Wax Paper
Hot wax or Mod Podge

Hot Wax or Mod Podge

Mod podge or wax can be used to preserve the leaves, but we recommend painting them with mod podge. Using mod podge can be just as messy as hot wax, but at least you don’t risk burn related injury or pain. Plus, mod podge helps the leaves retain their bright colors, and makes them much sturdier as well.

Note: If you do opt for hot wax, use a tweezer or some other small, gentle vice-like tool to grip each leaf as you dip into hot wax and lay them on wax paper to dry.

Place the leaves out on sheets of wax paper, and gently paint one side and leave on the wax paper to dry. To speed up this process, you can use a hair dryer. Let them dry for at least an hour after you use the dryer. When the first side of the leaves are dry, flip them over and repeat the first step. Easy as that!

Leaf Pro Tip: If you do decide to use a hair dryer, make sure you keep it moving so you don’t dry one spot for too long.

Now what? We picked some of our favorite DIY projects that use your mod-podged leaves.


10491148_10152580688034656_18403983656094985_n

Fall Leaf Candle Holder:

We love this one because it reuses the mod podge, so the only other material you need is a dollar store candle holder. So it’s SUPER cheap. All you need to do is brush the leaves onto the candle holder (in whatever design you like) and let it dry. Sound familiar?

Layered Leaf Bowl:

Again, this project won’t clean out your wallet because it also reuses the mod podge. However, it is a little more of tedious process. All you need is a bowl and plastic wrap, which are everyday kitchen items. Once you choose the bowl you want to use, line the inside of it with one layer of plastic wrap (P.S. Make sure the plastic wrap is covering the entire area of the bowl).

Then, cut the stem of the leaves off. After that, apply a layer of your mod podge to the inside of the bowl. Start to lay the leaves out to cover the bottom and sides of the bowl; cover the inside until you have as much coverage as you want. Add one more layer of mod podge to seal everything. Let it dry for at least a day. To remove the leaves from the bowl, pull up on the sides of plastic wrap and flip the (leaf) bowl over. Now, peel the layer of plastic wrap off of the back. Finally, put your bowl off to the side to finish drying. Voila! That wasn’t so bad, was it?

Stamped Metallic Leaf Plates:

This one doesn’t require mod podge, so if you don’t have time to get any, then this might be the project for you. The only materials are white plates, food-safe metallic paint, and a paint brush. If you don’t already have basic white plates at home, you can always pick some up at your local dollar store. In addition to making your wallet happy, it’s incredibly simple. All you need to do is brush the metallic paint onto the textured sides of your leaves, so it will help the leaf design transfer better onto the plate. Then, let it dry of course.

If you’re stumped as to what to do with the rest of your mod podge, have no fear! You can check out our DIY Pinterest board for more DIY projects; or you can just call us at TalkLocal for a handyman if you’d rather skip over the whole DIY part.

(Image credits 123)


Fall Essentials: Tips To Stay Healthy During Flu Season

Wednesday, October 14th, 2015

flufighter

Summer (and its dreaded heat) is gone and what’s upon us is the delightful time of fall leaves, pumpkin spice lattes and bugs going back to the underworld where they belong. Unfortunately, this is also the disastrous time when colds and flu viruses run rampant. That’s why we’re providing you with tips to stay healthy during flu season so you can prepare to kill all of the viruses and germs that dare do us harm!

What can you do to protect yourself, your home and your family from these malevolent microbial enemies? Your first line of defense is your flu shot. It may be irritating but a little prick from a flu shot goes a long way to protect you from those nasty viruses. Honestly, the most difficult thing is trying to get the kids to understand that logic, but that’s what doctors and their lollipops are for. Of course, the flu is constantly evolving and no one shot can protect you against all strains and variations. So, it’s important to keep healthy habits that protect you and your loved ones.

Here are three important ways to protect you and your family.

Remember the Basics: It’s all a matter of simple things. Wash your hands regularly. Get a good night’s sleep. Make sure your diet isn’t just potato chips and energy drinks. Wear a coat when it starts to get cold. Keep away from people who are sick and don’t share drinks!

Disinfect: Let’s face it, germs are everywhere. While you may think that disinfecting everything would be a nightmare, it’s okay to focus on the things that you know everyone touches. The doorknobs, the light switches, the TV remote, and anything that you know you touch more often than not.

Prepare Plan B: Sometimes these things just can’t be avoided, especially something as shifty as the flu virus. If you plan ahead and stock up for possible illness, you and your family won’t be stuck rushing to stores when you’d rather be getting healthy. You need your tea, your chicken noodle soup, your tissues, your horrible-tasting cold medicine, etc. It’s also a good time to get your DVR prepared with everything you want to watch while you’re sick at home. And, by all means, do stay home! Self-quarantine speeds recovery and prevents further spreading of the illness to your loved ones, colleagues, and neighbors.

Remember that even though we have to be on guard against the cold and flu, following these steps make it possible to still enjoy all things fall. So, just remember: don’t share food or drinks, stock up on hand sanitizer and information, and if you think you’re going to get sick take it easy, maybe even let TalkLocal find you a maid service professional to tidy up the kitchen so you can stay in bed with soup and cute cat videos.

How To Carve A Pumpkin In 5 Steps

Monday, October 12th, 2015

shutterstock_333128285

We hate to love it, but it’s a cherished family tradition. Picking out scary or fun designs to draw (and trying not to mess up) and scooping out gross orange flesh. That’s right, it’s pumpkin carving! The actual process is a BIG pain – let’s admit it. But, the look on the kiddies’ faces when you finish makes it 100% worth it. So, that’s why we keep doing it.

Now, are you ready to carve some pumpkins? Here are our five steps to properly carve a pumpkin:

1. Cut off the top of the pumpkin. You can use a keyhole saw to cut it, but any serrated knife will do.

2. Hollow out the pumpkin by scooping out the insides (flesh, pulp and seeds). Any large-sized spoon or scraping tool will work. It is important to scrape some of the walls’ flesh because it thins the walls and makes carving a whole lot easier.

3. Draw a fun (or scary) design with a marker, or print out a template and tape it to the pumpkin. To trace the design, you can use a sharp tool like a nail or needle tool.

4. Remove the template (if you used one) and begin to carve out the design feature with the same serrated knife you used to cut off the top of the pumpkin. Tip: try to saw in short, back and forth movements. This will give you more control.

5. Place a candle inside. We recommend putting it in a glass or using a battery-operated light inside the pumpkin. P.S. If you use a candle, cut out a “smoke hole” in the back so the smoke from the candle can escape.

Voila! Your pumpkin is ready to go. If you’re worried about it turning brown before Halloween comes, you can apply a layer of vaseline to the outside of the pumpkin. You can also preserve the pumpkin by placing it in the fridge whenever you’re out of the house. We highly recommend doing both to keep your Jack O’ Lantern in good shape.

Make sure to check out our Halloween board on Pinterest for tons of pumpkin decoration ideas, creepy recipes, and scary DIY decoration ideas.

Happy Halloween!

Burst Water Pipes

Thursday, October 8th, 2015

shutterstock_333883721 copy

No one wants to deal with a burst water pipe but every year, millions of Americans are caught off guard by this nuisance. If you have a burst pipe, it’s critical to act quickly to minimize the damage. To act fast, you need to know exactly what to do. Here are a few basic tips that will help you better handle any burst water pipes.

Steps to Follow

1. As soon as you notice a burst water pipe, turn off the water supply and remember the leak’s location. The water main valve is usually where the pipe gets into your house or under the sink.

2. Once you’ve turned off the water supply, you need to drain your plumbing system. To do that, turn on all cold-water taps and make sure you flush the toilets.

3. Switch off the water heating, and turn on your hot water taps to continue drainage.

4. Turn off the power. Water from burst pipes may damage your electrical wiring. This can destroy your appliances and puts you in danger. Turn off the electrical system, but make sure it isn’t wet. If any of its parts are wet, stay away from it because you might be electrocuted. Call an electrician right away.

What to Do Next

Before you fix the leaking pipe, you need to clean up the leaked water. If you caught the pipe burst early, chances are there’s not much water around the house. However, if it’s been dripping for a while, you need to be careful because the structure of the house may be affected.

You can try to repair the pipe yourself if the leak was caused by a loose fitting. You can also replace the broken pipe segment with a new one.

Looking for a Plumber?

In an average of just 90 seconds, TalkLocal can put you in touch with a local certified plumber who can repair your pipes in no time.

Steps to Planting Fall Flower Beds

Tuesday, October 6th, 2015

colorful flower bed ideas

Your garden can be just as beautiful in the fall as it is in summer. Planting fall flower beds will keep your garden looking pretty even when your summer flowers begin to die. They are also less likely to inhabit any pests, which we think is a huge plus.

Steps to Planting Fall Flower Beds:

Step 1: Clear out weeds and dried leaves from your current flowerbed. If you don’t have an existing flower bed, locate where your new flowers bed will be. You can work with the space you have whether big or small.

Step 2: Buy soil that contains the right nutrients for winter flowers and bulbs. Distribute the soil in your flowerbeds.

Step 3: Observe your flower beds to find out the amount of sunlight they get. This information is helpful in choosing the best flowers and bulbs to plant in your fall flower beds. Once you’ve made your flower choices, buy bulbs online or check the local garden center if they have your chosen bulbs available.

Step 4:  Each bulb your purchased will come with instructions on how top plant them. First, use a garden trowel to dig a hole in your flower bed in the depth indicated on the bulb packaging. Then, proceed to follow the directions for planting. Pay attention to giving enough spacing in between each bulb. Cover the bulbs with soil. Don’t forget to stake the correct plant markers beside the bulbs.

Step 5: Choose the flowers to include in your fall flower beds. Plant them around the planted bulbs, using the plant markers as your guide to avoid planting directly above the bulbs. Some perennials are perfect for fall gardening such as Chrysanthemum, Toad Lily, Aster, Goldenrod, Russian Sage, and Helenium. These flowers will remain vibrant throughout autumn up until the first hard frost. Their bright colors will make pretty borders and entire fall flower beds.

Step 6: Give your flower beds thorough watering.

Looking Forward to Planting Fall Flower Beds?

Get expert opinion and help for your fall gardening project or for any landscape job you currently have. TalkLocal is your link to the best landscape designers and contractors in or near your area. We’re experts in matching homeowners with the service professionals they need and we don’t charge you for it. Try us now!

How To Not Sound Like A Telemarketer 101

Thursday, October 1st, 2015

FAIL

We’ve all been there before: at the start of the week, you’ve got a large list of potential leads and by the end, you haven’t closed a single sale. One problem you might have is coming across as the stereotypical telemarketer, the guy who wants to scam the customer out of his hard-earned money. The customer isn’t going to trust you unless you come across as though you’re offering him something truly worthwhile. We’ve chosen the top common mistakes salesmen make which gives their potential customers the impression that they’re just another telephone solicitor.

How to Not Sound Like A Telemarketer 101

You forget to start with your name

If you’re trying to build the trust necessary to sell something to a customer, how well do you think it’s going to go over if you haven’t even given them your name? If you don’t follow the rules of basic human interaction, it demonstrates incompetence and your chances of closing the sale are going to lower.

You can’t adapt to the customer’s demands

If you’re a rookie salesman or have gotten too comfortable with your pitch, you might be inclined to stick to a pre-planned strategy when talking to a customer. While having a good idea of what to say and how to say it, it can give you an extra boost of confidence, but it also makes it much more likely for your sales pitch to derail. It’s essential for the salesman to be “in the moment” when having the conversation, he or she needs to be prepared for the conversation to go in any direction; whether it’s a distraction or a hindrance they lead might throw his way that will keep him from making the sale.

You lie to the potential customer

One of the worst ways to sink your chances at landing the sale is to lie to the person on the phone. Whether you’re lying about who you are, what your company does, or how successful your company is, karma will come back to haunt you. The internet is an accessible tool and any published information about you or your company is there for your potential clients. When you’re on the phone, what you tell your potential clients should match what it says about you on the internet because if they do check later, they might have second thoughts about doing business with you. Lying never works out well in the end.

If you find yourself doing any of these things when trying (and failing) to make a sales call, they might be what’s holding you back. We get it, trying to generate sales over the phone can be tough. If you’re a small business, you should use TalkLocal to get leads sent to you in real time for free. We connect the customers looking for jobs in your field of work directly to you! For free leads in real time, check out TalkLocal.

Top 3 Simple Yet Practically Genius Home Improvement Options

Wednesday, September 30th, 2015

Untitled design-1

There are renovations that you just want to accessorize the home and ones that are absolute necessities. Then, there are these genius home improvement options that we deem neaccessities: accessories so neat they constitute necessities.

The word may be made up but the concept is clearly an ontological fact. Language, the written word, the wheel and indoor plumbing are all inventions which – although not crucial to survival – so greatly enhanced human quality of life and culture that a world in their absence feels literally inhuman. And that’s what these renovations do for the home. They make homes without these features appear unsuitable for mankind.

Here are 3 home renovations that from the moment I experienced them, left me feeling like a caveman…who had just discovered fire!

Indoor Doggy/Kitty Doors:

Seeing the litter box of Malicious Mittens and The Great Catsby is a great reminder to clean said litter box daily. But, as the look of mutual embarrassment passes over all our mammalian faces, I’m reminded that I’d rather set a daily calendar alert. So, why not install a pet door into that perfectly good broom closet where gentle felines could do their business in quiet dignity?

Plus, if you don’t mind pets in your room, then there’s no reason they should be barred from/imprisoned inside anywhere to conserve heating or cooling from a space heater or A/C. Pet doors as needed throughout the home ensure seamless co-existence with your pets…without you all living like animals!

Closet Remodeling:

The next time someone gives you a tour of their beautiful home, repeat after me (Jerry Maguire style): “Show…me…the…closets!” There are options like rolling ladders, upper-storage cabinets, pull-out and slide-out shelves, cubby-holes and more. There’s a personalized design for every wardrobe and lifestyle. If you want to spend as little time in your closet as possible, cut the frills and maximize efficiency. And, if you love playing dress-up like me, the right design can make daily primping feel like a mini shopping spree at a high-end boutique.

What you won’t do is rummage through a veritable trough like a pig bobbing for apples for the rest of your life. I’ll pause while you reevaluate your life choices thus far.

Heating Vent Beneath the Kitchen Sink:

As a guest in someone’s home, you may be gracious enough to clear the table. Then, a radiant wind like angels’ breath brushes across your peep-toe kitten heels. Discreetly stepping out of your shoe…gasp! Is this a memory foam kitchen floor mat? Why yes, it is. Then, you proceed to wash a dish and dry a dish, and wash a cup and a pan – all while cooing at the sunshine nipping at your toes.

That is the power of strategically placed heating vents, not-to-mention memory foam kitchen floor mats. You’ll clear the sink far more willingly with your toes swaddled in a cloud of summer breezes. And, if you’re not standing in the warm white sands of sun-kissed memory foam every time you do your chores, then you might as well be walking on coals while dingoes chew at your ankles!

I’m sorry if the cornea-searing light of smart home renovation has blinded you to the few minuscule pleasures of your once unwittingly bleak existence. You’re not alone. I, too, wallowed in newly recognized squalor but am now planning my own home improvement renaissance; with each step, I am closer to renovation nirvana. Change is gonna come, my friends.

And, if you’re in the process of choosing a handyman to bring the changes you and your home so desperately need, TalkLocal can help. Just visit TalkLocal to go from search to conversing with the right local professional over the phone in about 90 seconds.

How To Make Your Small Business Look Legit

Friday, September 25th, 2015

rsz_shutterstock_121289161

Starting a small business can be an ambitious decision in today’s market. One of the most important factors that will determine if you can get people interested in your product or service, is your ability to make your business seem “legit.” At TalkLocal, we grew from four guys in a basement to more than 60 employees in a DC-area office, and we account our growth and development as a company to our efforts of legitimizing our brand in order to attract clients. Here are some tips your small business should follow in order to seem legitimate in the eyes of potential customers:

Make your website seem professional

In the internet age, your business’s homepage can make or break deals. When a customer comes to the website of a company that they will potentially be doing business with, they expect it to be high quality. If your company’s website looks like a 13 year old girl’s blog from 2001, then it’s time to consider a serious upgrade. This article offers some simple tips about fonts, backgrounds, images, and information placement that can help you bring your website into the 2010s.

List an actual address

Nothing can make your business seem shadier than not having a physical address listed on your social media and website. When a customer doesn’t see an address, he or she will get a bad impression of your business and will not trust you. Even if it’s your home address you have to list, something is better than nothing, and a physical address goes a long way towards customers trusting you with their business.

Create company email addresses

If your small business is going to send a lot of emails, you should create company email addresses. If a consumer is deciding between one company that uses a Gmail account and their competitor with a company email account, they’re going to go with the guy with his own domain name; it just seems more professional. Websites like Hover make it easy for small businesses to get their own domain names and setup company email accounts.

Real-world networking

Never underestimate the power of face-to-face interaction or over-the-phone interaction when spreading the word about your business. Set up meetings with old colleagues or local professionals over lunch. Ask them for advice on how to grow your business. Also, tell them to spread the word about your company and the product or service you provide. If you’re looking to recruit, attend career or internship fairs at local colleges; this is an easy way to find qualified and motivated people to join your team!

Move into an office ASAP

You should move into a serious office as soon as possible if you want to really make your business seem legit. The benefits of having an office should be self-explanatory: having a place to bring clients to meet, having a place for the entire team to work, having your company name on a door, and creating a professional aura around what your company does. As soon as it is economically possible for you to do so, move your company into an office.

Here at TalkLocal, we found these actions have helped increase our customer base, internet presence, and expand our company’s professional network. We hope these steps will help you expand your customer base, but if you still need help generating leads for your small business, check out TalkLocal where we can give you leads for free in real time.

10 Things You Missed When Inspecting Your New Home

Thursday, September 24th, 2015

rsz_roof_inspection

For the past few weeks or months, all of your web browsing has been on Zillow. Your weekends have been packed with open houses. Your heart has been broken into tiny little pieces with thoughts like, “It looks so much better in the pictures,” or  “If only this was closer to work,” and “I’m sorry, I just can’t see past the staging…or maybe it’s the smell.”

Now, you’ve finally found a house you can live in, complete with features you can live with, square footage you can fit into, and a mortgage that won’t make you starve to death in a community that’s sure to grow on you.

Here are 10 nagging things you suddenly notice:

1. The mysterious bumps, creeks, and whirring sounds that grate your nerves once all the buzz of moving in quiets down.

2. Filth. The bathroom tiles look as if they were actually caulked with dead skin cells and soap scum.

3. Greed. Did they really need to take the batteries out of all the smoke detectors?

4. Shotty appliances. You could practically ride your noisy, shaky washer/dryer to work in the morning.

5. Wow, little Stevie sure has grown up fast. These 2 wall-markings are only 6 months apart. Wait…who is Stevie?

6. The hidden infestation. Should we be wearing black since you evidently live in a cricket graveyard?

7. The deception. The porch appeal was so well-executed a week ago. Did the homeowner not know that weeds have roots or is Prickly Lettuce just shy during open houses?

8. Holes. Chipped paint. Cracked linoleum. Bad carpentry work. Here, here, here and here! Once you see it, you can’t unsee it.

9. The stain in the carpet. Then you realize: someone else’s life is in your carpet. It’s not your carpet and will never be your carpet. You need to pull up all of the carpet.

10. The Neighbors. They seem so nice during the day but once the moon comes out, they turn into real party animals…party werewolves.

At least, that’s what happened to me. In fact, we hadn’t lived here for a month and already a storm caused our electricity to go out because the surge protectors weren’t properly installed (or something), said the electrician I found through TalkLocal.

Now – a new surge box, a full closet-makeover, a new kitchen countertop, and three broken appliances replaced later – it’s finally sinking in: home is not a place you discover by following a local listing and a map, but a place you create by following your heart.

And, if maintenance and repair needs are threatening to break the bank and your heart, let TalkLocal take the hassle out of finding a local pro. Because when things break while you’re making a home, it’s hard enough to keep it together.